Unveiling Advanced Techniques for Blurry Backgrounds in W11 Photo Feature

Unveiling Advanced Techniques for Blurry Backgrounds in W11 Photo Feature
Microsoft’s Photos app contains basic annotation features, but for a long time, it didn’t come with a “blur” feature for those who want to protect their or other’s privacy.
However, Microsoft eventually added a new feature to the Photos app called “Background Blur” which automatically adds a blur effect to the background. Let’s explore it in detail.
What Is the Background Blur Feature in the Photos App?
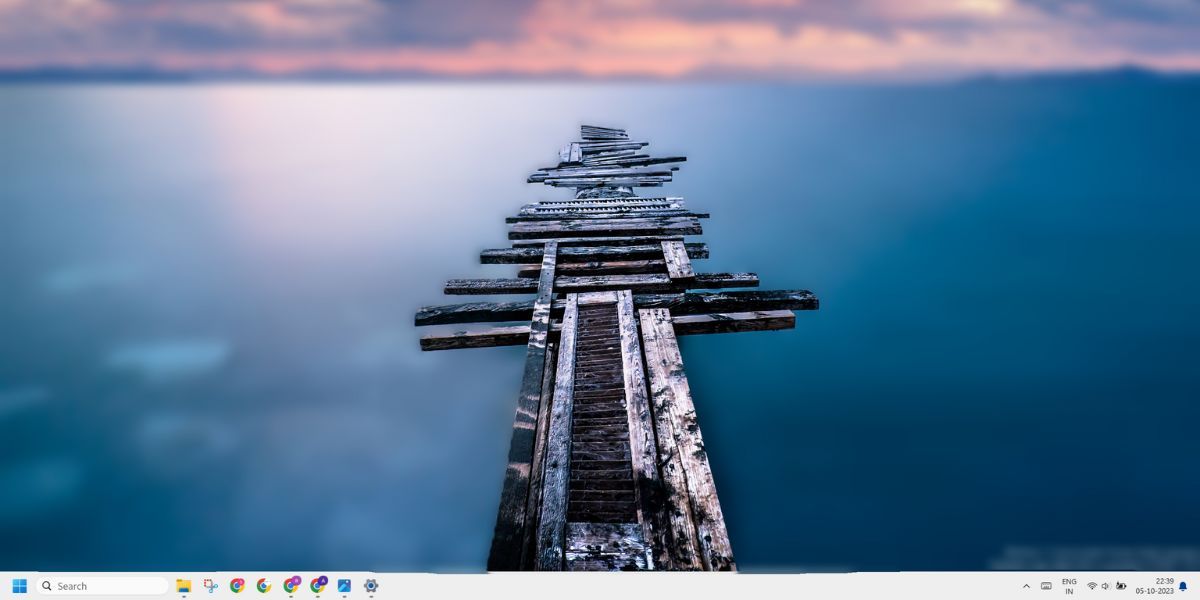
The Background Blur feature automatically identifies the area behind the subject that should be blurred to highlight the main subject. It is a one-click solution to add the blur effect to the background of an image. You can also adjust the positioning, and intensity of the blur to any portion of the image.
How to Enable and Use Background Blur in the Photos App
At the time of writing, the Background Blur feature is exclusive to the Windows Insider channel only. Earlier it was available only for the Canary and Dev channel users, but Microsoft rolled it out for the Beta and Release Preview channels as well.
If you are a Windows Insider, you must update your PC to the latest available Windows Insider build and apply the update. You can also use UUP Dump to download the Windows Insider ISO file without subscribing to the Windows Insider program . However, you will have to flash the build either via an in-place upgrade or format your PC.
After updating your build, launch the Microsoft Store app and download and install available updates for all the apps including the Photos app. The Background Blur feature is available in the Photos app version 2023.11090.13001.0 or higher. So, you will get the new feature only updating to this specific version.
Now, retrace the following steps to use the Background Blur feature in the Photos app:
- Press the Win key, type Photos, and press Enter to launch the app.
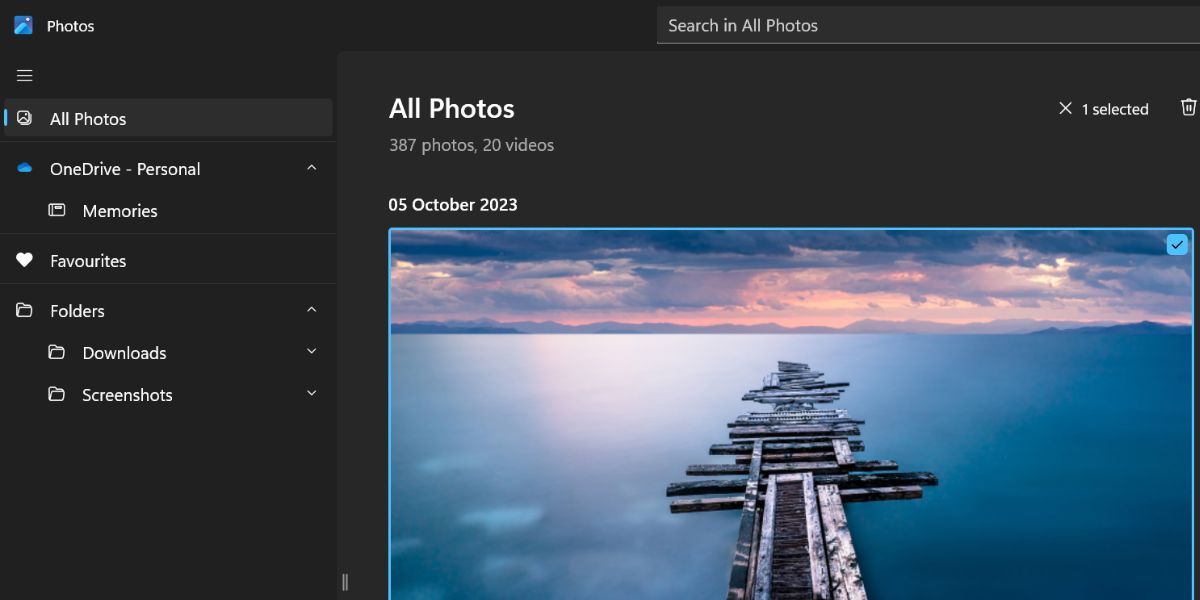
- Scroll down and locate the image you want to edit. Double-click on it to open the image in the new preview window.

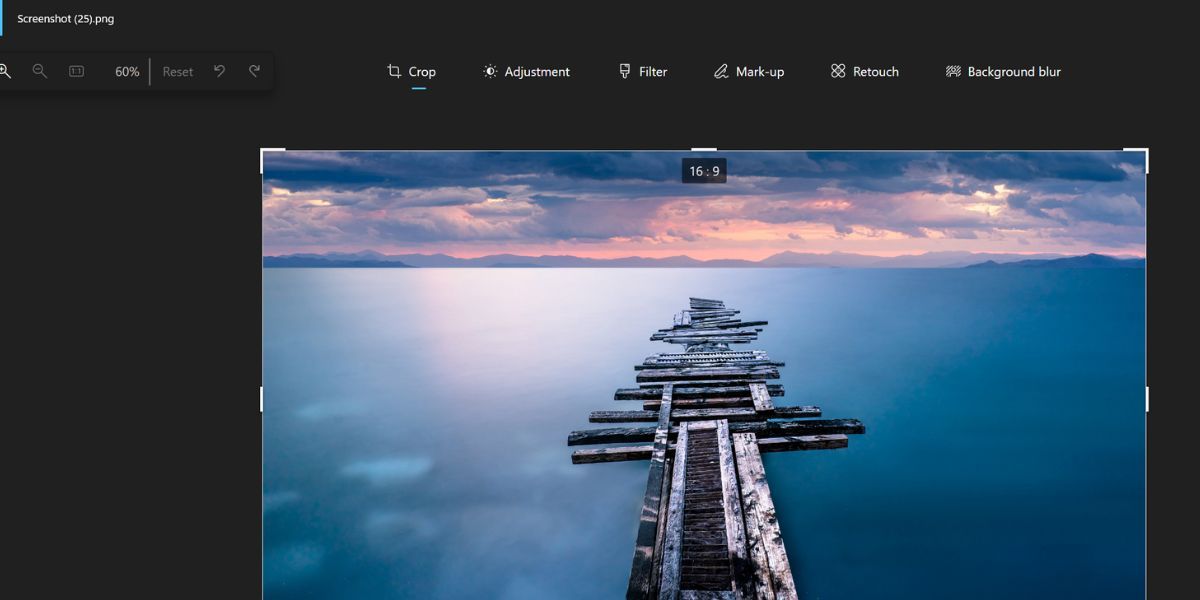
- Go to the top bar and click on the Edit image icon. Alternatively, you can press the Ctrl + E to open the Edit window.
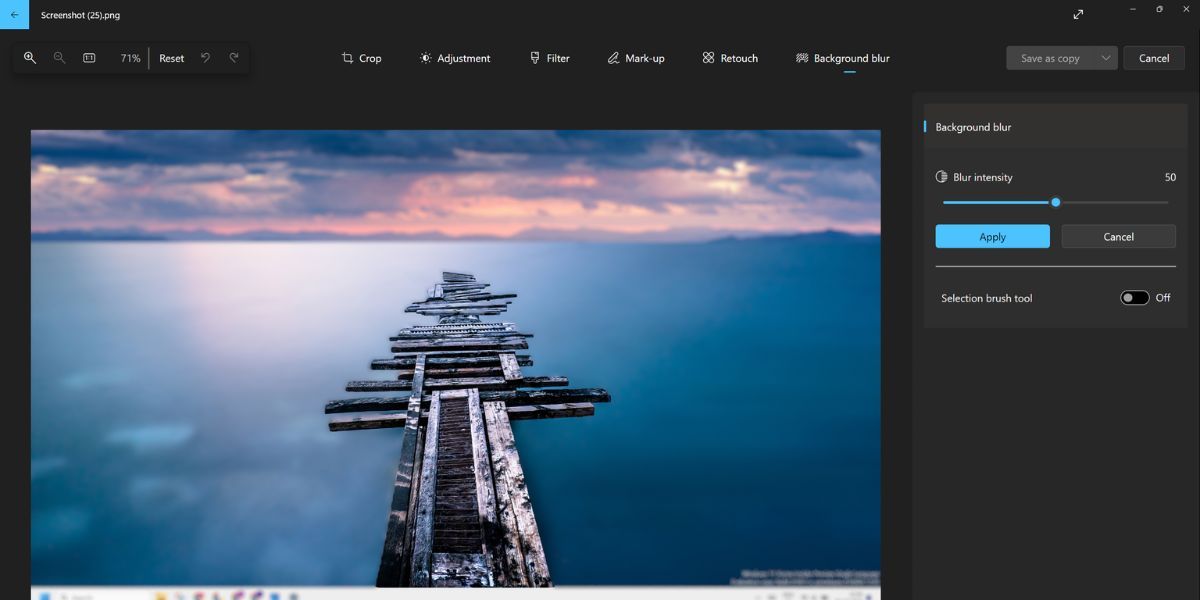
- Click on the Background Blur option. The feature will try to identify the background in the image and then apply the blur effect to that area. It can take a few seconds to do so.

- If you are not satisfied with the blur effect, go to the Blur intensity option in the right-hand side section. Adjust the slider to increase or decrease the blur effect on the selected background area.
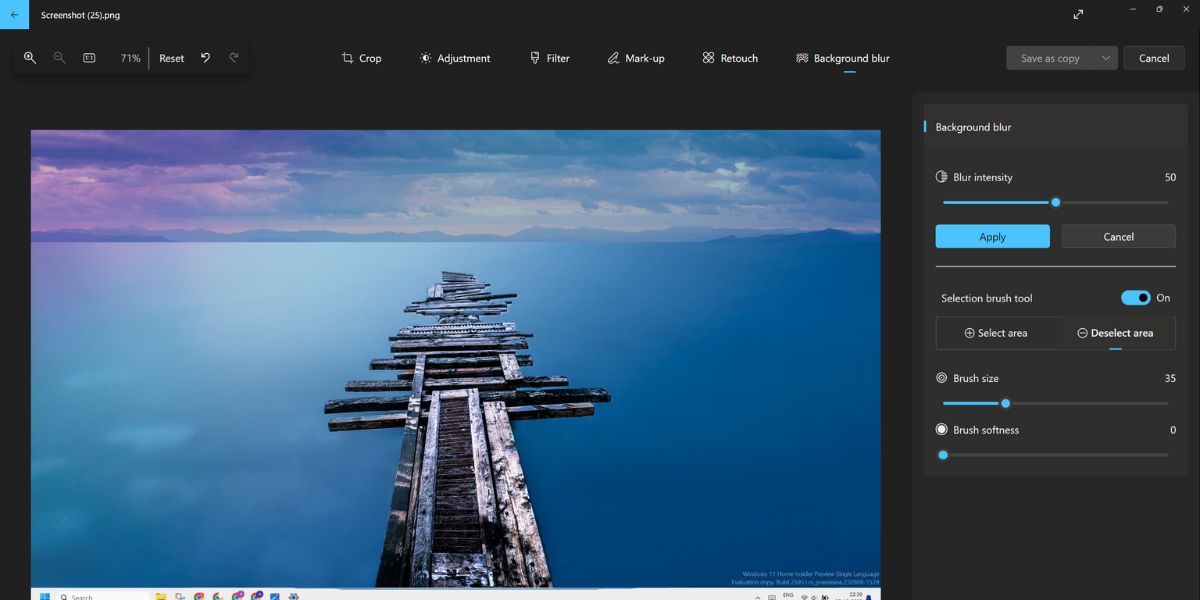
- To blur more parts of the image, click on the toggle next to the Selection brush tool. By default, it is set to Select area.

- Click and drag the mouse on the area to select it for applying the blur effect.
- Use the adjustment sliders to tweak the brush size and softness of the blur as per your preference.
- If you want to deselect a part of the image from the blur effect, click on the Deselect area option.

- Then click and drag the brush on the area of the image to deselect it.
- After making all the changes, click on the Apply button to finalize the blur effect.
- Now, click on the Save a copy button.
- Type a name and click on the Save button.
Is the Photos Background Blur Feature Any Good?
We tried it with multiple images and the feature did a good job of identifying the background area to blur. You get control over the blur intensity and can also select more areas or deselect some of them to exclude from the effect. The automatic selection feature is enough in most cases.
However, the feature focuses on blurring the background and not just any part of the image. You can deselect the area, but what if you only want to blur a tiny area that contains a personal detail and not blur the background? In that case, the background blur effect isn’t of much help. It is very difficult to deselect the identified background area.
You cannot use the tool to only blur a portion of the image and will first have to apply the background blur effect. So, it is effective for background blurring and not precision blurring a small portion of an image.
Easily Blur the Backgrounds in Your Photos
The Background Blur feature will be a handy addition to the Photos app. However, the lack of options to apply the blur effect to a small portion of the image is an issue that needs to be addressed by Microsoft.
However, Microsoft eventually added a new feature to the Photos app called “Background Blur” which automatically adds a blur effect to the background. Let’s explore it in detail.
Also read:
- [New] Perfect Methods for Computer-Based VHS Artistic Touches
- [Updated] Crystal Clear Viewing Evaluating the Best 8K Monitors for 2024
- [Updated] Splurging Less with Low-Cost VR Technology (China)
- Choosing Between Windows 11 Home & Pro: Your Ideal Edition
- Deciphering and Overcoming Microsoft Office's Error Code 0X80040610
- Eliminating 0X80072AF9 Error Code Instantly
- Guide to Uncovering the Missing Taskbar in Full Screen
- In 2024, TweetVid Puller IPhone App for Easy Video Extraction
- Maximize Watch Time, Minimize Leaving 6 Key Tactics to Retain More Audience
- Movaviで簡単にフリーオンライン変換:FLVを3GPに
- Real-World Examples: The Impact of GPT Today
- Reboot to Normalcy: Windows 11 Permissions Reversal
- Screen Selection Simplified - Find the Best Display for Xbox Series X for 2024
- Steps to Address and Rectify Windows App Error 0X800700c6
- Steps to Overcome ONEDRIVE Authentication XYZ Error on Windows 11
- Top 23 Amazing Laptop Bargains This Labor Day - Still Available
- What to Do if You Can't Access Your Router Page or Web Interfaces on Windows
- Title: Unveiling Advanced Techniques for Blurry Backgrounds in W11 Photo Feature
- Author: Joseph
- Created at : 2024-12-05 16:32:46
- Updated at : 2024-12-10 21:49:39
- Link: https://windows11.techidaily.com/unveiling-advanced-techniques-for-blurry-backgrounds-in-w11-photo-feature/
- License: This work is licensed under CC BY-NC-SA 4.0.
