
Unlocking the Archive: File History in Windows 11
Unlocking the Archive: File History in Windows 11
Microsoft introduced File History with Windows 8 and even improved the feature to some extent in Windows 10 and 11. In Windows 10, File History also appeared in the Settings app, but that changed with Windows 11. The backup feature is missing from the Settings app which is confusing because Microsoft is shifting sections of the Control Panel to Settings.
But Control Panel isn’t the only way to access File History on Windows. This guide will list eight quick methods to open the File History page in Windows 11.
1. Using Start Menu
The most obvious place to search for an app or file on Windows PC is the Start menu. You can even see web results because Microsoft integrated Bing into the Start menu. Repeat the following steps:
- Press the Win key to open the Start menu.
- Type File History in the search box. Click on the first relevant search result to open File History in a new window.

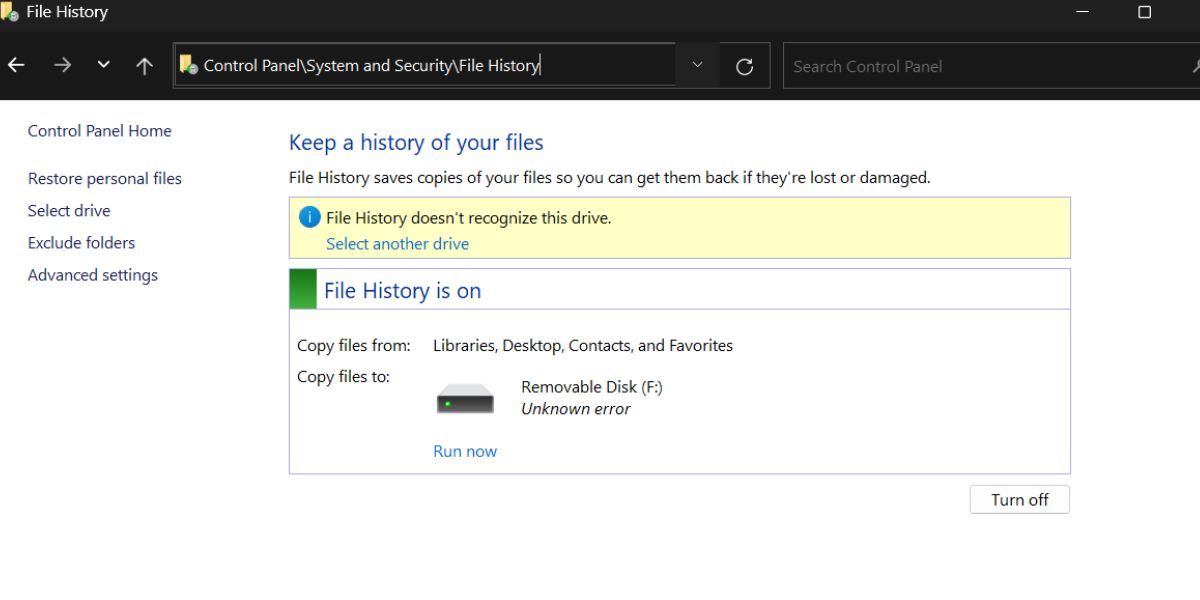
2. Using Control Panel
File history previously lived in the Settings app in Windows 10 but is now only present in Control Panel’s System and Security section. Here’s how to access it:
- Press the Windows key, type Control Panel and press the Enter key.
- In the Control Panel window, click on the System and Security option.
- Scroll down and locate the File History option. Double-click on it to view and manage the connected devices and backups.

3. Using the Settings App
The Settings app doesn’t have File History as a separate section but can redirect you to its Control Panel page. Repeat the following steps:
- Press Win + I to launch the settings app.
- Go to the left-hand side section and click on the search bar.
- Type File History and click on the Restore your files with File History search result.
- The Control Panel window will open with the File History page.

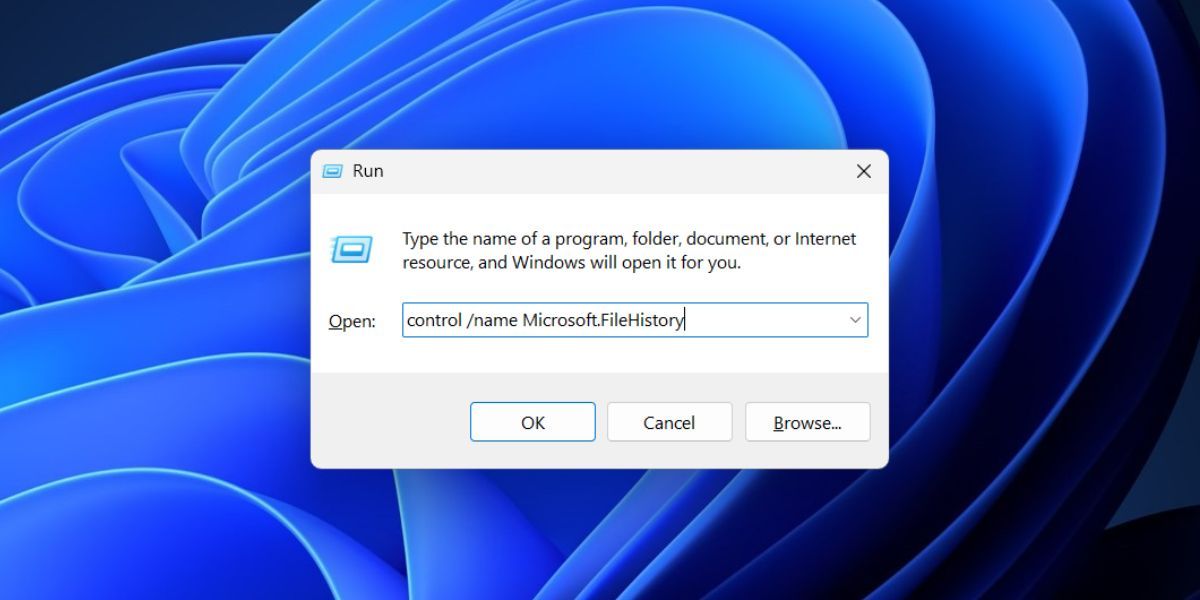
4. Using the Run Dialog Box
Launching programs and system apps from the Run dialog box is possible if you know the exact file name or the file path. Repeat the following steps:
- Press Win+ R to open the Run dialog box.
- Type control /name Microsoft.FileHistory in the text box and press the Enter key.
- The File History page will open.
 Glarysoft File Recovery Pro - Helps to recover your lost file/data, even permanently deleted data.
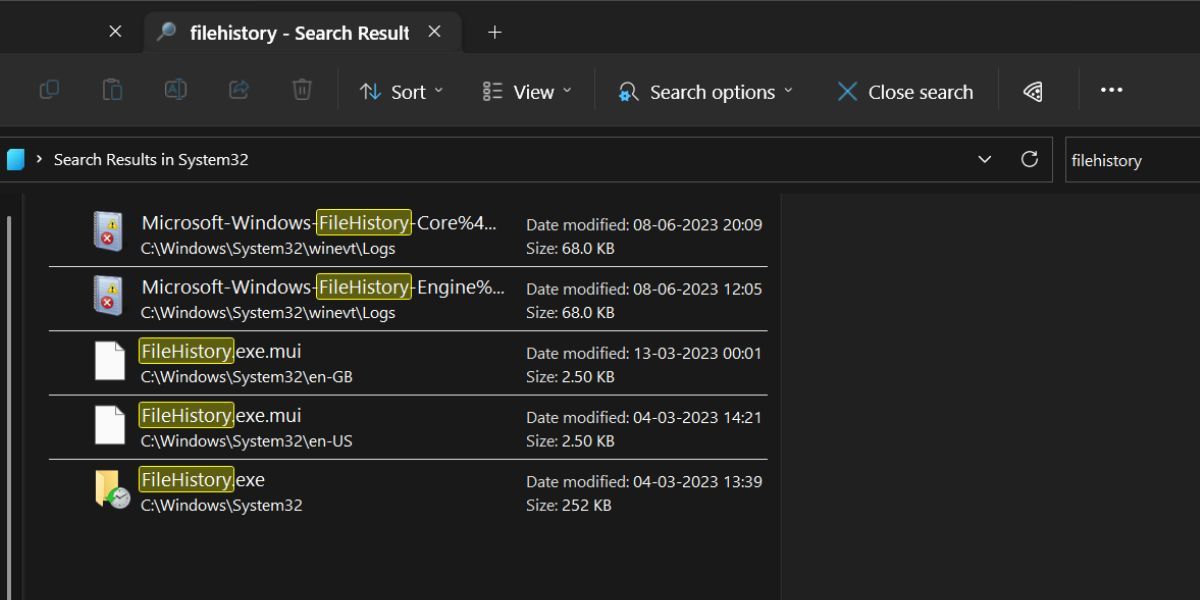
5. Using File Explorer
Like most Windows utilities, File History is also present in the System32 folder in the C drive. So, you can access it from there in case Control Panel is not opening or working on your PC. Repeat the following steps:
- Press Win + E to open the File Explorer .
- Go to the address bar on the top of the File Explorer window and click on it.
- Paste the following path in it and press the Enter key: C:\Windows\System32
- Now, go to the search box present in the top right corner and type File History. Press the Enter key to initiate a search.
- Double-click on the FileHistory.exe file to open the tool.
EaseText Audio to Text Converter for Windows (Personal Edition) - An intelligent tool to transcribe & convert audio to text freely
 OtsAV Radio Webcaster
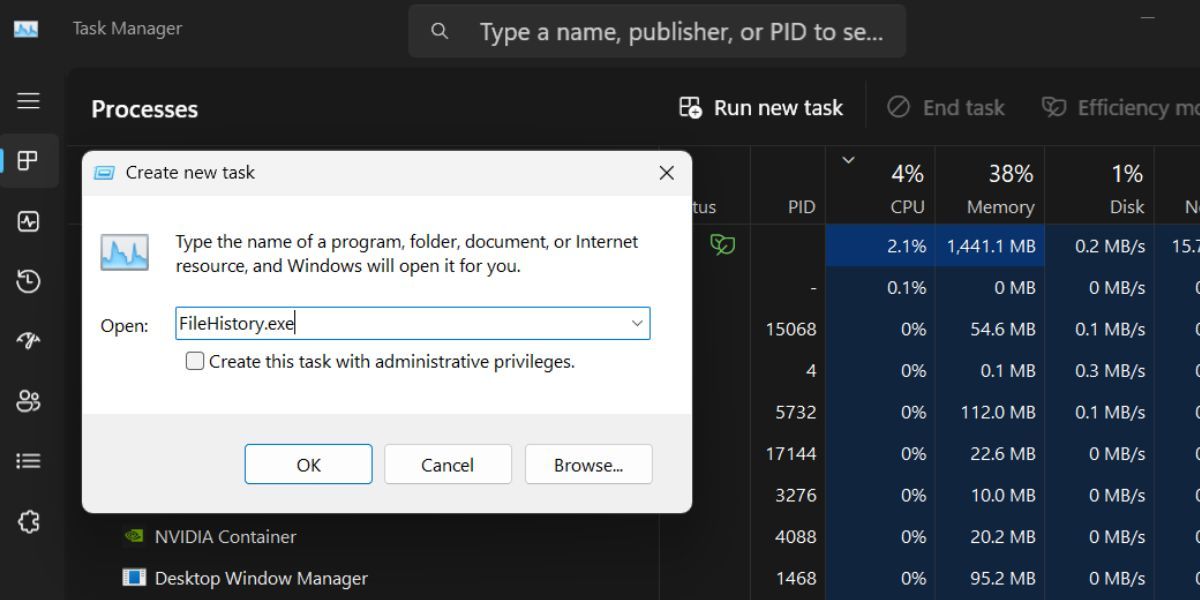
6. Using Task Manager
Task Manager isn’t just meant for ending tasks and sub-processes. You can launch any system app or tools, and access file locations using the Run new task option. Here’s how:
- Press the Ctrl + Shift + Esc keys simultaneously to open the Task Manager .
- Click on the Run new task button. Now, type FileHistory.exe in the text box and click on the OK button.
- File History will launch on your system. Close the Task Manager
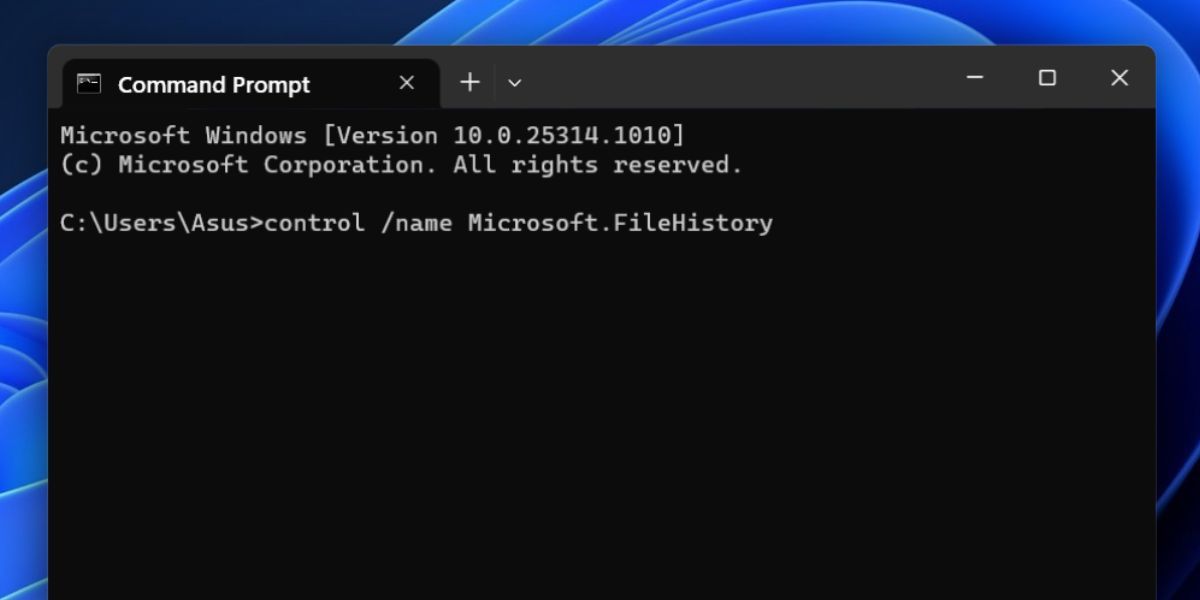
7. Using Terminal App
If you love the terminal and don’t like the idea of opening menus or searching for an app or tool, you can open File History using the Terminal app. Here’s how to do it:
- Right-click on the Start button to open the Power User menu.
- Click on the Terminal option.
- Now, type the following command and press the Enter key to execute it: control /name Microsoft.FileHistory
- Close the Terminal app.
.png) Kanto Player Professional
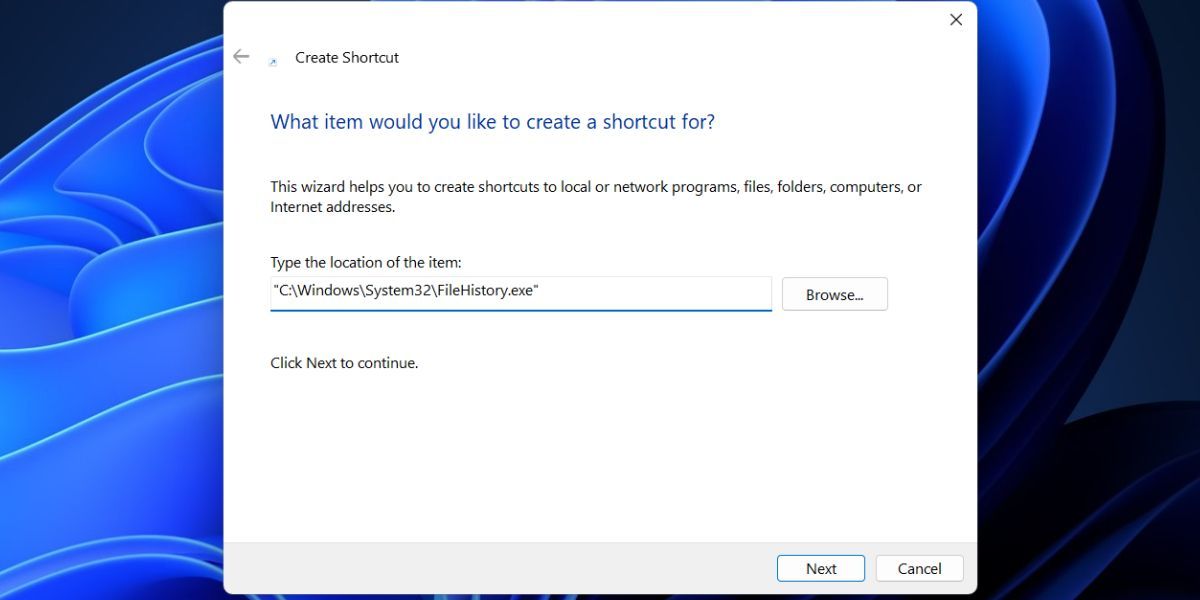
Kanto Player Professional8. Using a Desktop Shortcut
The fastest method to access any app is by creating a desktop shortcut . You can switch to the desktop and launch programs with or without administrator privileges. Repeat the following steps:
- Press Win + D to switch to the desktop.
- Right-click on the Desktop. Select the New > Shortcut option from the context menu.
- In the Create Shortcut window, go to the textbox. Type “C:\Windows\System32\FileHistory.exe” in the text box and click on the Next button.
- Name the shortcut File History and click on the Finish button.
- Switch to the desktop. Double-click on the newly created File History shortcut to launch the tool.
Access File History Settings In a Jiffy
Microsoft came with this excellent physical backup option for Windows OS. Now, you know eight easy methods to access File History, run a manual backup session, and tweak its settings. You can even add and remove folders in File History, but that requires a bit more effort.
But Control Panel isn’t the only way to access File History on Windows. This guide will list eight quick methods to open the File History page in Windows 11.
- Title: Unlocking the Archive: File History in Windows 11
- Author: Joseph
- Created at : 2024-08-15 16:15:40
- Updated at : 2024-08-16 16:15:40
- Link: https://windows11.techidaily.com/unlocking-the-archive-file-history-in-windows-11/
- License: This work is licensed under CC BY-NC-SA 4.0.