
Overcoming CCleaner Issues in Windows 11
Overcoming CCleaner Issues in Windows 11
CCleaner is one of the most widely utilized third-party system maintenance software packages for Windows 10 and 11 PCs. However, some users have reported on help forums they can’t utilize CCleaner because it’s not working for them. The CCleaner window doesn’t open when that software isn’t working.
Many users report CCleaner not responding when they click to open that software. However, this Piriform software can also fail to start with error messages. This is how you can fix CCleaner not working on your Windows 11/10 PC.
1. Try Opening CCleaner From Its Installation Directory
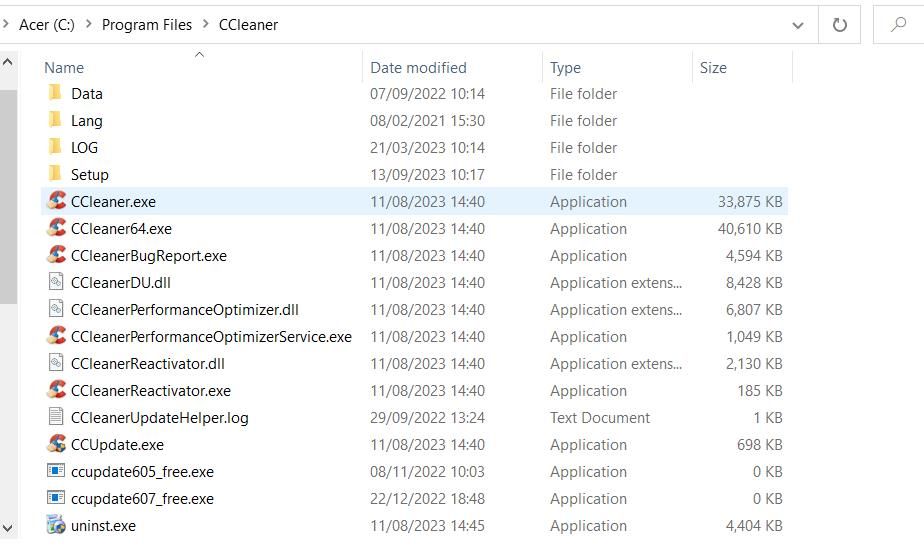
Many users open CCleaner with desktop, taskbar, or Start menu shortcuts. However, CCleaner might not launch because of an issue with its shortcut. So, try opening CCleaner directly from its installation folder to see if that makes any difference. To do so, you’ll need to double-click the CCleaner64.exe application file within the software’s installation directory.
If you can launch CCleaner from the installation directory, there must be an issue with the shortcut for opening that software. In this case, set up a new Windows desktop shortcut by right-clicking the CCleaner EXE file and selecting Send to (Desktop). Then try opening the software with the new CCleaner shortcut.
2. Run CCleaner With Administrator Rights
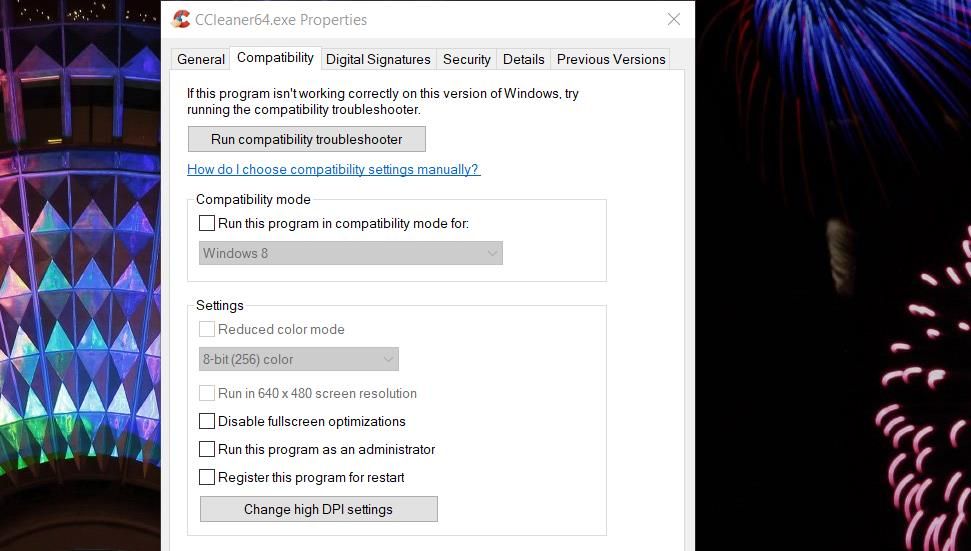
It’s not usually an essential requirement to run CCleaner with admin rights for that software to work. However, sometimes CCleaner can fail to start because of permissions issues that running it as an administrator might address. You can quickly see if this potential resolution works by right-clicking CCleaner’s shortcut or the EXE file in the installation directory and selecting Run as administrator.
If that works, set CCleaner to always run with elevated privileges. Then you won’t need to manually select to run CCleaner with admin rights every time you need to open it. This guide about how to always run apps as an administrator includes instructions for permanently setting programs to start with elevated privileges.
3. Delete the CCleanerx64 Registry Key
Many users have confirmed they’ve fixed CCleaner not working by deleting a CCleanerx64 registry key. Although a confirmed fix, we still recommend backing up the Windows registry before deleting keys. Then erase the CCleaner registry key as follows:
- First, hold the Windows logo key and press R to start the Run accessory.
- Type regedit into Run’s Open command box and click OK.
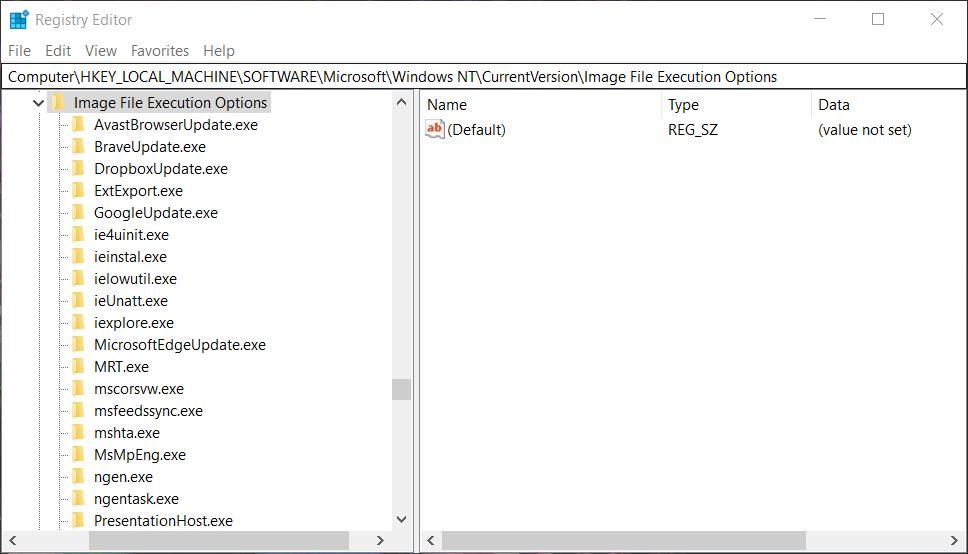
- Then go to this registry location either by entering it into the address bar or by clicking the keys in the sidebar:
Computer\HKEY_LOCAL_MACHINE\SOFTWARE\Microsoft\Windows NT\CurrentVersion\Image File Execution Options
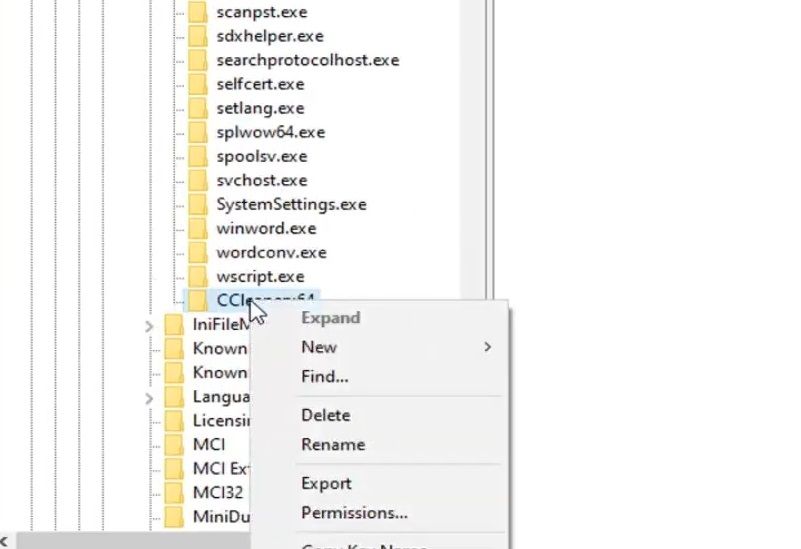
- Right-click on the CCleaner64.exe key and select Delete.
- Select Yes on the Confirm Key Delete window prompt.
- Click the Registry Editor app’s X Close window button and try opening CCleaner.
4. Add CCleaner to Your Antivirus Software’s Exceptions List
Antivirus programs that flag CCleaner as unwanted software can block that app from running. That’s more likely considering that this Piriform software has had its malware incidents in the past. Microsoft Defender was widely reported to flag CCleaner as unwanted software in 2020. Some users have also confirmed disabling Trend Micro antivirus fixed CCleaner not working on their PCs.
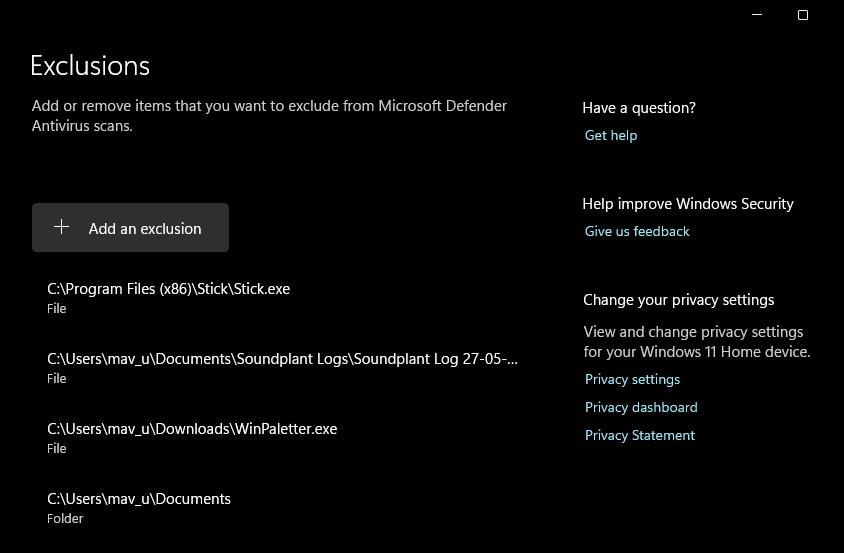
So, you might need to add CCleaner’s installation folder to your antivirus software’s exceptions list to fix that app not working. Our guide to setting Windows Security exclusions provides guidelines for whitelisting software from the Microsoft Defender antivirus. If you utilize a third-party security app, add CCleaner to that software’s antivirus exclusion list.
5. Disable Your Active Firewalls
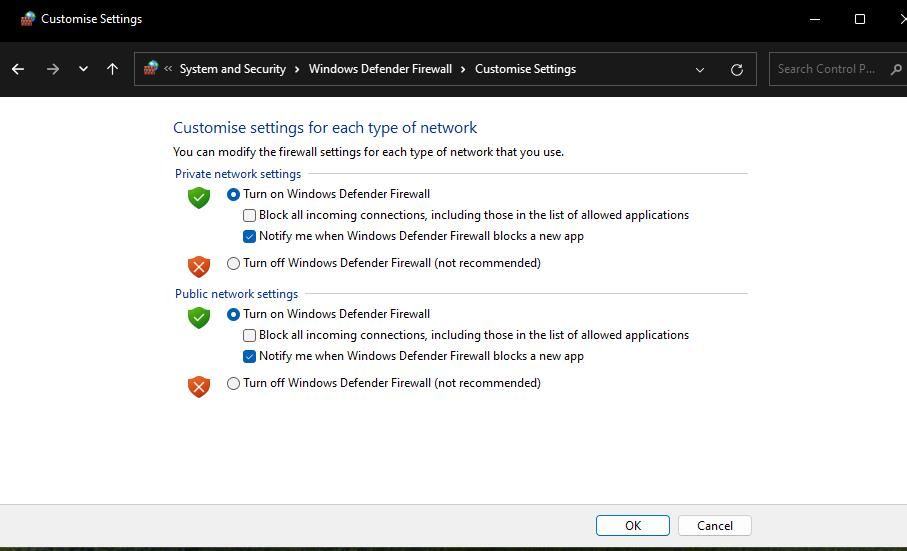
CCleaner needs internet connectivity for updates, bug reporting, and its online features. Therefore, firewall blocks can be another cause for CCleaner not working. Disabling your PC’s firewall will ensure that it isn’t blocking CCleaner’s internet connectivity.
This guide for disabling Microsoft Defender Firewall provides full instructions for turning off that firewall protection. Users with third-party firewalls installed can select to turn them off via their settings tabs. If you’ve installed third-party antivirus software, disable its firewall component if it has one.
 PDF application, powered by AI-based OCR, for unified workflows with both digital and scanned documents.
 Run CCleaner after turning off the firewall on your PC. The firewall was most likely causing the issue if the CCleaner software works when it’s disabled. Add CCleaner to your firewall’s allowed app list to utilize that software with the firewall enabled. Our article about allowing apps through the Windows firewall tells you how to add programs to Microsoft Defender Firewall’s allowed list.

6. Run CCleaner After Clean-Booting Windows
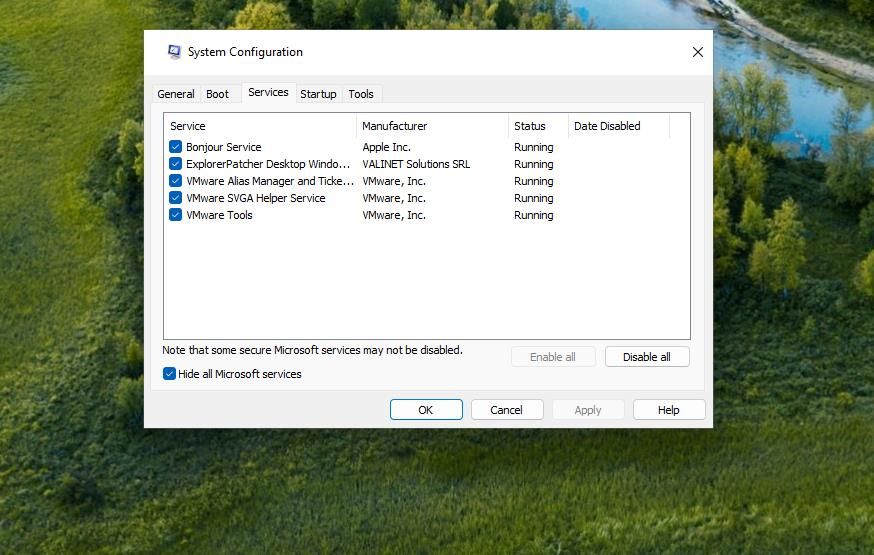
An app conflicting with the Piriform software could be another possible reason for CCleaner not working on your PC. Clean-booting Windows 11/10 will likely eliminate that potential cause. Setting a clean boot will disable most third-party startup programs and services that run in the background. Clean boot is like entering Windows safe mode, but it doesn’t disable any device drivers.
To apply this possible solution for CCleaner not working, follow the instructions in this how-to perform a clean boot guide. Restart Windows after disabling startup items via Task Manager and MSConfig, and then try opening CCleaner again. If the CCleaner software works after the clean boot, a disabled app or service is likely the culprit.
What you do then is up to you. You can leave the boot setup as set or try to find out what was conflicting with the CCleaner software. To find what’s causing the issue, re-enable disabled startup items in a one-at-a-time fashion before every reboot until CCleaner stops working again. Then either permanently disable or uninstall the conflicting service or app.
7. Reinstall CCleaner
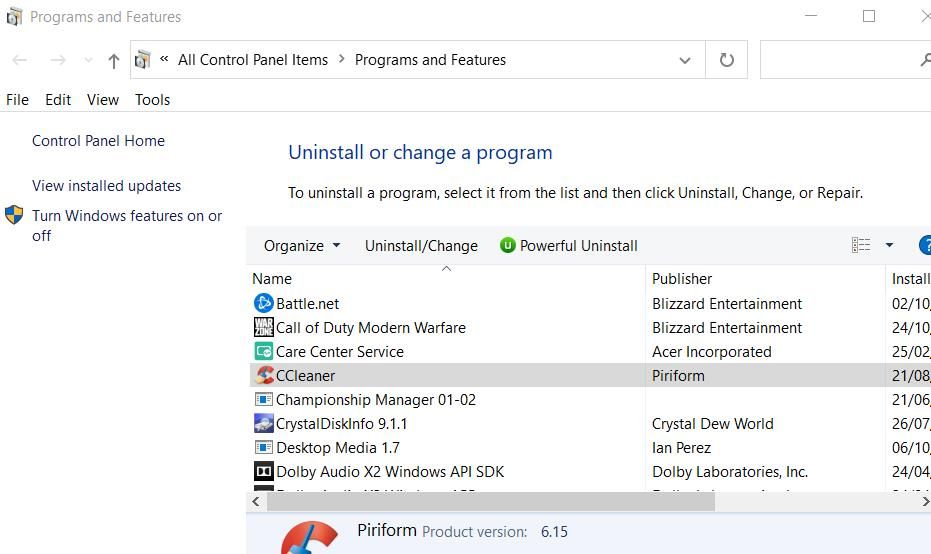
If CCleaner still isn’t working after applying the other troubleshooting methods in this guide, you might have to reinstall the software. This will refresh all CCleaner’s files and registry entries. You can remove CCleaner with most of the methods outlined in this article about uninstalling Windows software . We recommend uninstalling with one of the best uninstaller utilities to remove all leftover debris.
You can reinstall a CCleaner UWP or desktop app. To get the desktop app, click Free Download on this CCleaner page . Double-click the ccsetup615.exe file in the folder it downloads to view the setup window. Then you can click Install within the setup wizard to reinstall CCleaner.
If you want to try the UWP app instead, open the CCleaner Microsoft Store page , click on the Get in Store app, and Open Microsoft Store options to access an installation option for CCleaner. Press the Install button for the app.
Clean Up Your PC With CCleaner Again
There’s no guaranteed way to fix CCleaner not working. However, the troubleshooting methods above will probably kick-start the CCleaner software for Windows 11/10 in most cases. Then you can clean up your Windows 11/10 PC with all the tools CCleaner has to offer again.
Many users report CCleaner not responding when they click to open that software. However, this Piriform software can also fail to start with error messages. This is how you can fix CCleaner not working on your Windows 11/10 PC.
- Title: Overcoming CCleaner Issues in Windows 11
- Author: Joseph
- Created at : 2024-08-15 15:56:11
- Updated at : 2024-08-16 15:56:11
- Link: https://windows11.techidaily.com/overcoming-ccleaner-issues-in-windows-11/
- License: This work is licensed under CC BY-NC-SA 4.0.