Navigating Git Workflows Using GitHub Desktop in Windows 11

Navigating Git Workflows Using GitHub Desktop in Windows 11
Git and GitHub are essential tools for developers. However, the learning curve to adapting git version control into your daily workflow can be difficult at first. Newbie developers are often frustrated by the extensive list of commands needed to use git.
Fortunately, GitHub Desktop allows you to work with git through an interactive user interface that does not require any commands. Read on as we describe what GitHub Desktop is and how to make the most of it on a Windows PC.
What Is GitHub Desktop?
GitHub Desktop is an intuitive desktop application that allows users to work with Git without the hassle of the command line. GitHub Desktop is an open-source tool (meaning it’s free to use) that relies on the efforts of the developer community to simplify workflow for developers and improve team collaboration.
If you don’t enjoy using Git via the command line, you’ll find GitHub Desktop to be a valuable tool that makes your life easy. Quite obviously, GitHub Desktop is not as powerful as usinggit from the command line , but it can still help you accomplish a lot.
You can clone remote repositories, make commits, work on multiple branches, and even push code through GitHub Desktop without writing a single git command.

Once you’ve set up GitHub Desktop with a repository, you can also create issues and pull requests. You can even review pull requests your team makes directly within GitHub Desktop.
All in all, GitHub Desktop helps you adapt the best practices for git through an easy-to-use interface allowing you to take version control of your projects to the next level.
How to Install GitHub Desktop on Windows
GitHub Desktop is free to use and available on Windows, macOS, and Ubuntu. You can quickly install GitHub Desktop on Windows 10 and 11 as follows:
- From your web browser, head to the officialdownload page for GitHub Desktop .
- Select theDownload for Windows button to begin your download. Alternatively, you can also download the Windows MSI installation file.
- Once the installation completes, double-click the GitHub Desktop setup file (the downloaded file should be in your Downloads folder).
- GitHub Desktop will automatically launch once it’s ready.
Now that you’ve successfully installed GitHub Desktop on your Windows PC, the next step is to sign in using your GitHub account.
How to Sign Into GitHub Desktop on Windows
To start using GitHub Desktop within your projects, you will first have to authenticate and sign in with your GitHub account. If you don’t have a GitHub account,sign up to get started.
To add an existing GitHub account to GitHub Desktop:
- Launch GitHub Desktop through theStart menu, search forGitHub Desktop , and select the best match.
- Within GitHub Desktop, navigate toFile > Options > Accounts .

- Select theSign in button based on your account type (GitHub.com for regular users and GitHub Enterprise for enterprise/work accounts).
- When prompted, complete the sign-in process on your browser. Return to theAccounts options page to confirm your login.
How to Use GitHub Desktop Like a Pro
Now that you’ve configured GitHub Desktop on your Windows PC, you can use it in your daily workflow.
How to Clone a Repository Using GitHub Desktop on Windows
GitHub Desktop lets you quickly clone a GitHub repository without using the command line. You can clone a project if you’ve been added as a collaborator or if it’s available as a public repo. If you haven’t already cloned a project repository, you can do so as follows:
- Launch GitHub Desktop and click on theCurrent repository button from the left pane.

- Click on theAdd dropdown and then selectClone repository .
- To clone a repo associated with your signed-in account, selectGitHub.com orGitHub Enterprise based on your account type.
- Scroll to find the repo you want to clone and update the saved location if needed.
- Once you’re ready, selectClone to begin cloning the project.
The project should then be accessible within the saved directory.
How to Create a Branch in GitHub Desktop
Branches are essential in the git workflow and allow you to work on a copy of the main codebase. It ensures experimental and unreliable code does not affect the production version of the codebase. Developers can freely play around in their isolated branch and push code once it’s tested.
To create a branch in GitHub desktop:
- Launch the GitHub Desktop app from theStart menu.
- Select theCurrent repository dropdown and choose the project you want to work on.

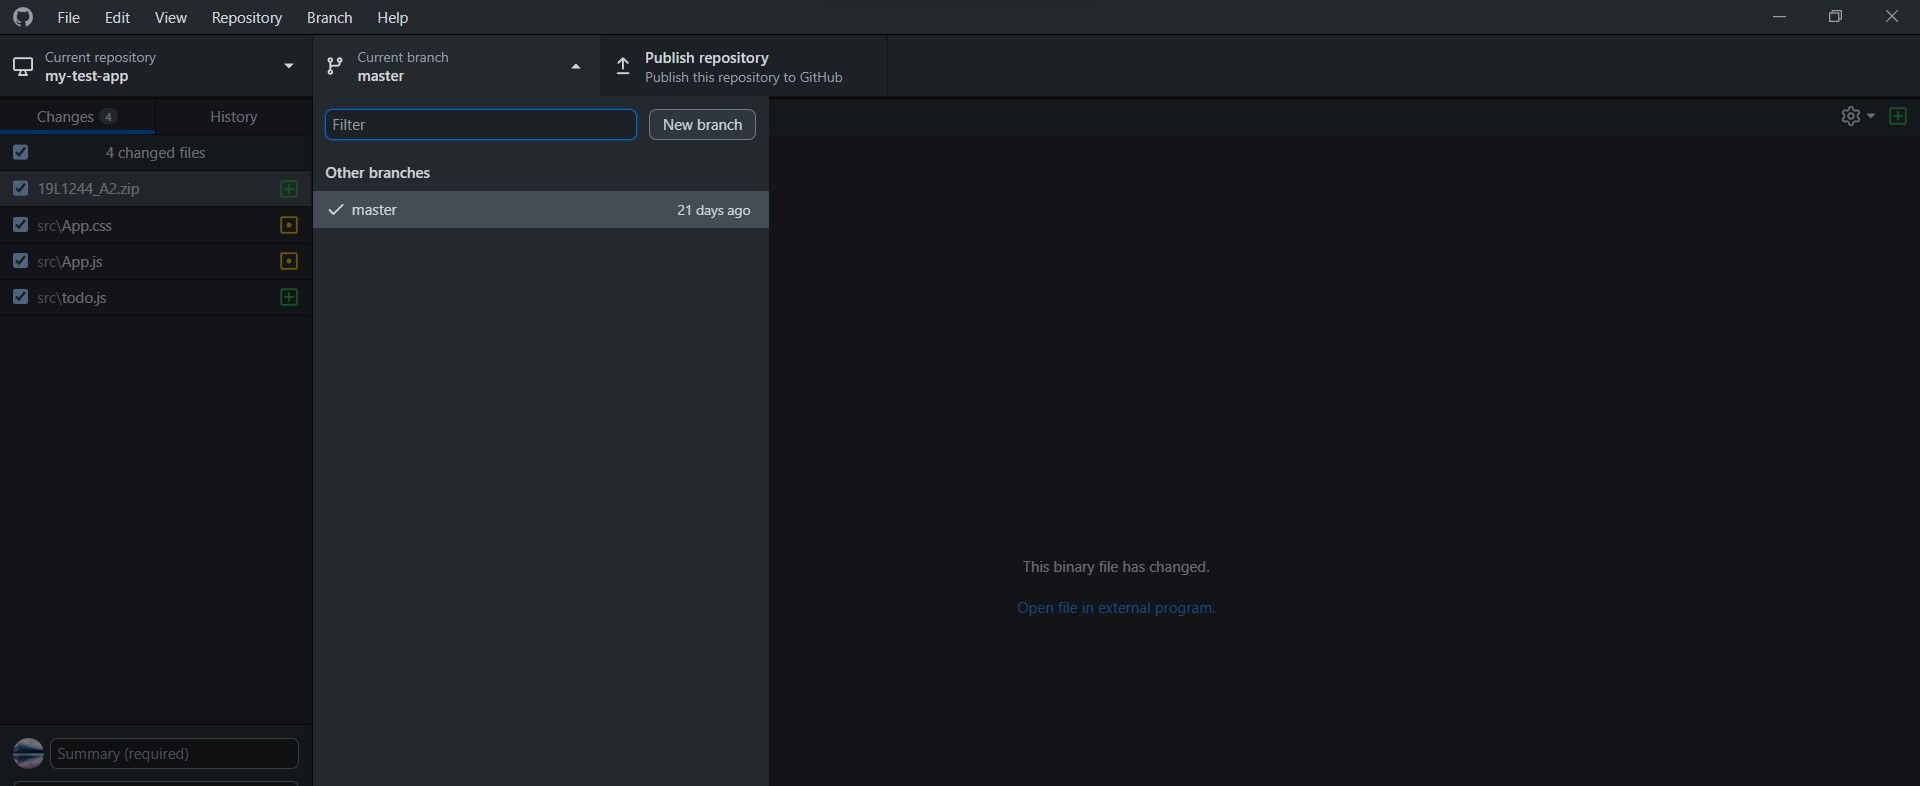
- Next, select theCurrent branch dropdown and click onNew branch .
- Enter a name for the branch and selectCreate branch to confirm your selection.
- To move your current working changes to the new branch, select theBring my changes to button.
Similarly, if you want to switch to a different branch, select theCurrent branch dropdown and select the branch name you want to change to.
How to Commit Using GitHub Desktop on Windows
Now that you’ve learned how to set up your project and create branches in GitHub Desktop let’s look at how you can commit code into your branch.
- Open the cloned GitHub repo in your preferred code editor.
- From GitHub Desktop, switch to the branch you want to work in (you can use the steps described in the previous section).
- Make the necessary changes in your code and save the files.

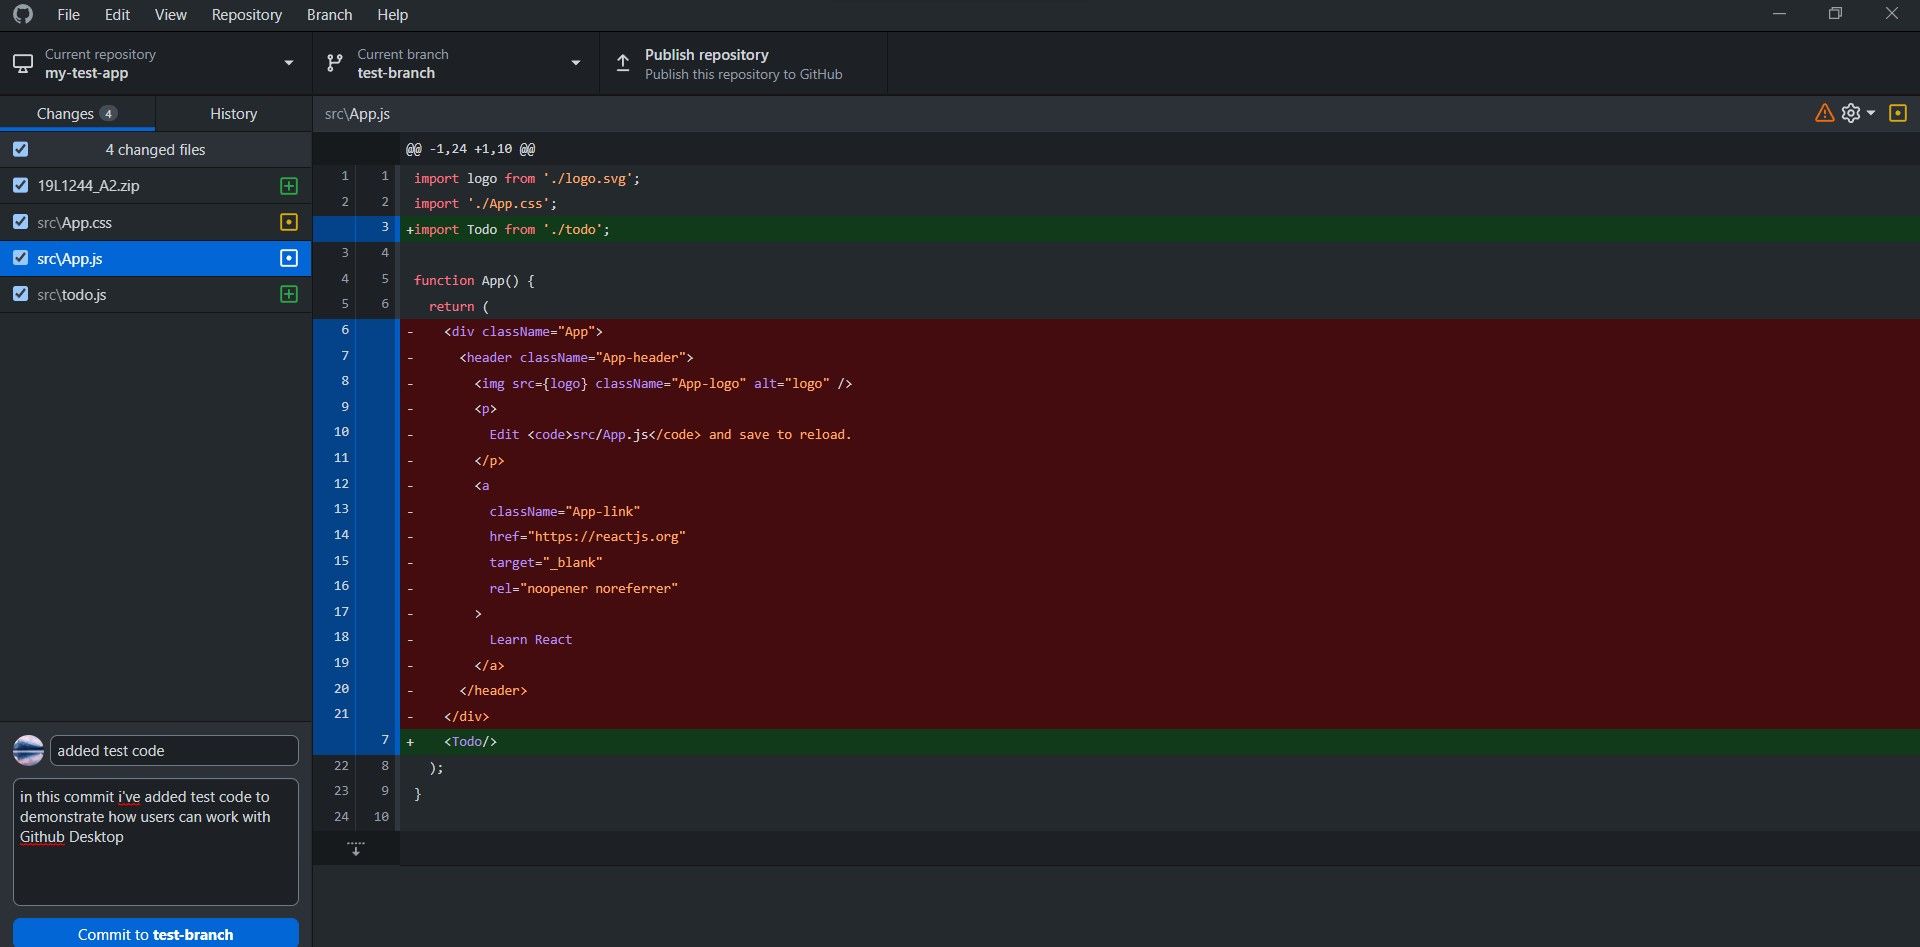
- Go back to GitHub Desktop, and you should see the changes you’ve made in the left pane.
- Review your changes, and once you’re ready, enter a message with your commit in the text box of the left pane.
- Select theCommit to button to confirm your changes and commit code into your branch.
How to Push Code Using GitHub Desktop on Windows
Once you’ve committed code into your branch, the next step is to push your changes onto GitHub. You can then create a pull request and merge your changes into the main or master branch.
To push code to GitHub to create a new pull request, choose the required project repository and branch in GitHub Desktop. Then select thePublish branch button or press the shortcut keyCtrl + P .
Use GitHub Desktop to Simplify Your Workflow on Windows
GitHub Desktop is a phenomenal app that completely changes how developers use git for version control. Git is especially useful when working with teams and open-source projects.
Also read:
- [Updated] Elevate Your Podcast's Reach with Advanced SEO Strategies for 2024
- [Updated] PC & Mac Techniques Utilizing DSLR for Facebook LIVE
- [Updated] YouTube's Secrets to Successful Video Marketing Uncovered
- 2024 Approved Playback in Reverse The Ultimate YouTube Playlist Technique
- ChatGPT Registration Paused – Insights on the Halt & Future Availability Dates
- Fixing Common OneDrive Crash Code in W11, W10
- How to Add Live Wallpapers to Windows 11’S Desktop With Lively Wallpaper
- In 2024, How and Where to Find a Shiny Stone Pokémon For Tecno Phantom V Fold? | Dr.fone
- In 2024, Top IMEI Unlokers for Your Vivo Phone
- Lowering Memory Usage: Enhancing Platform User Service Efficiency
- Most Advanced 2024 Cable/WiFi Modem-Router Solutions Compared
- Simplifying the Networks Menu: Win 11 Wifi Cleanup
- Strategies to Mend Windows 11 Assistive Tool
- Strategizing to Spot and Capture Youtube's Hidden Markets
- Tips to Correct Failed UI Module Load in Steam
- Title: Navigating Git Workflows Using GitHub Desktop in Windows 11
- Author: Joseph
- Created at : 2024-11-17 23:15:27
- Updated at : 2024-11-24 23:34:45
- Link: https://windows11.techidaily.com/navigating-git-workflows-using-github-desktop-in-windows-11/
- License: This work is licensed under CC BY-NC-SA 4.0.


