
Immediate Guide: Forcibly Disable/Delete Printer on PC
Immediate Guide: Forcibly Disable/Delete Printer on PC
Often, you will need to remove and reconnect your printer for troubleshooting purposes. Also, removing old and unused devices helps you keep your connected device list organized in Windows 11 and 10.
You can remove any connected printer from the Settings panel. If that does not work, you can use the Command Prompt and other ways to remove the printer. Here, we show you the many ways to delete a printer on Windows computers.
1. How to Remove a Printer From Windows via Settings
You can easily add or remove printers from the Settings app. Here’s how to do it:
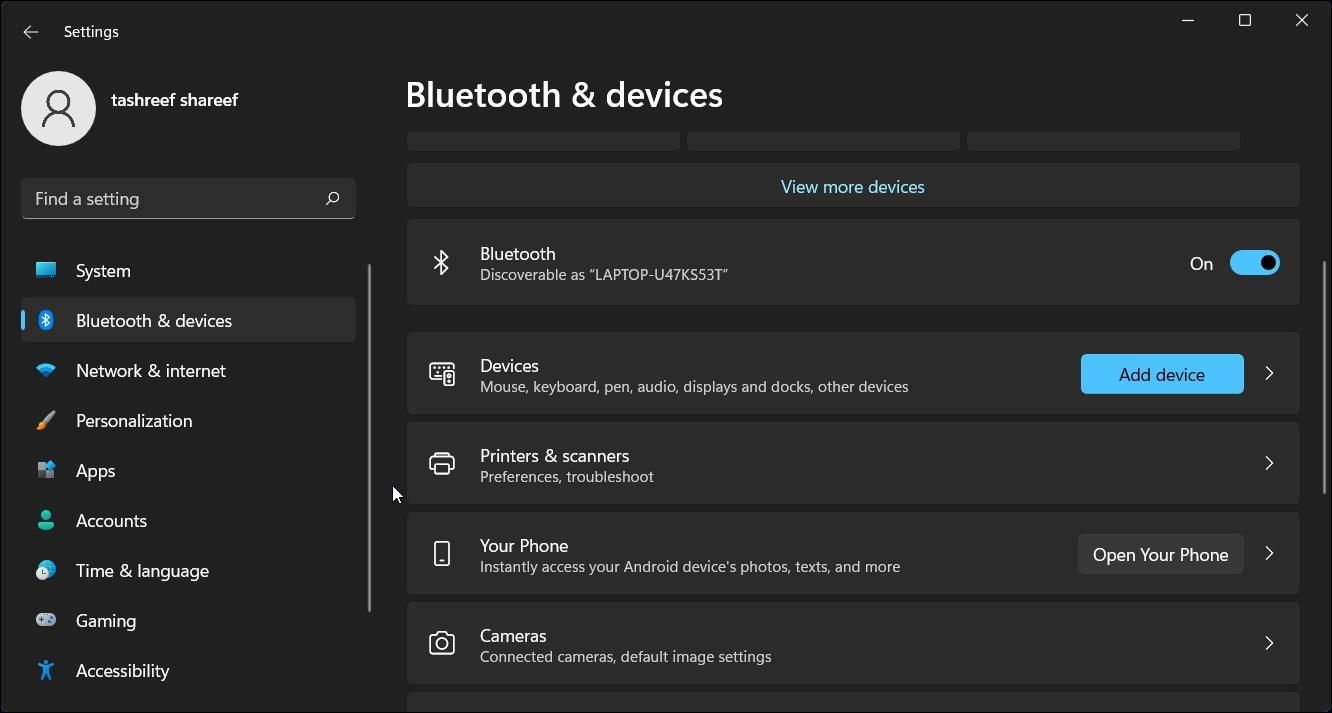
- Press Win + I to open Settings.
- Open the Bluetooth & devices tab in the left pane.

- Scroll down and click on Printers & scanners. This will list all the printers connected to your computer.
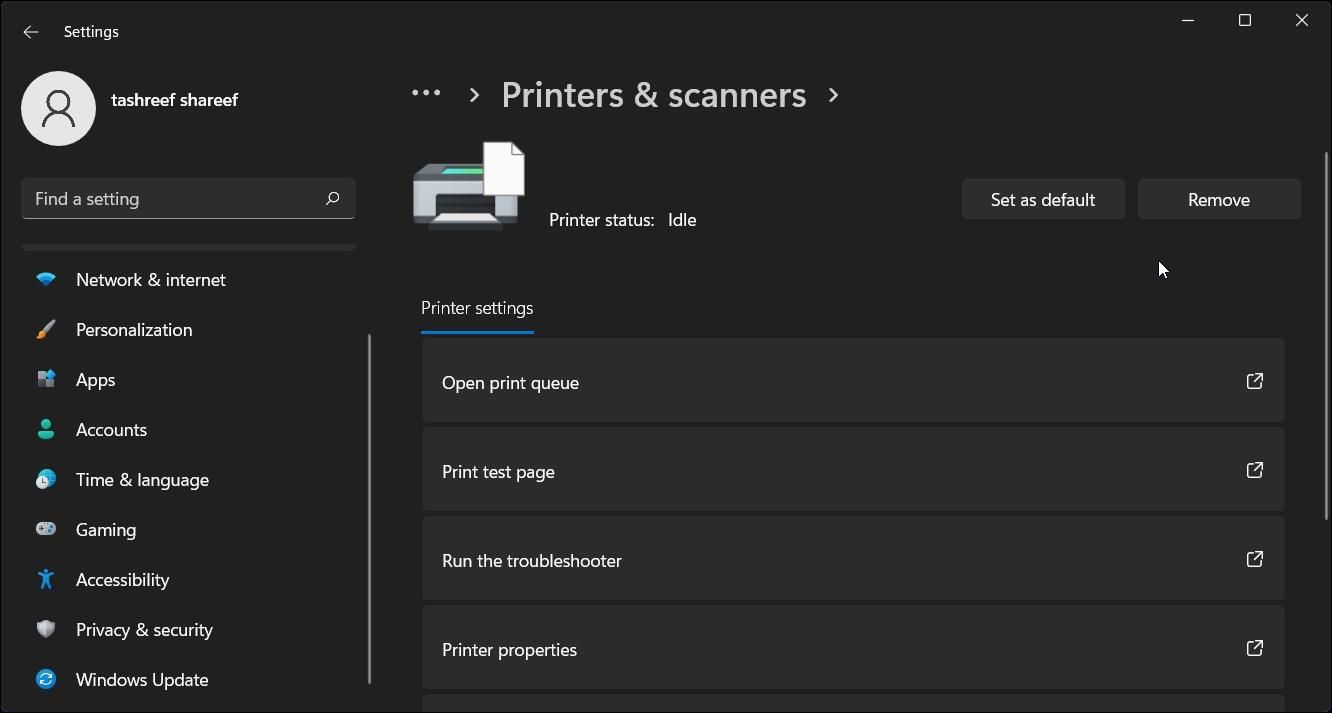
- Click on the printer device that you want to remove.
- Click the Remove button in the top right corner and click Yes to confirm the action.
If you encounter an error, stop the Print Spooler service in the Services snap-in and try again!
How to Stop the Print Spooler Service
If Windows fails to remove the printer with an error, try to stop the Print Spooler service and remove the printer. Print Spooler is an essential printer service that communicates the print job between your PC and the printer. However, it can sometimes interfere and prevent you from uninstalling the printer.
To stop the print spooler service:
- Press Win + R to open Run.
- Type services.msc and click OK to open the Services snap-in.
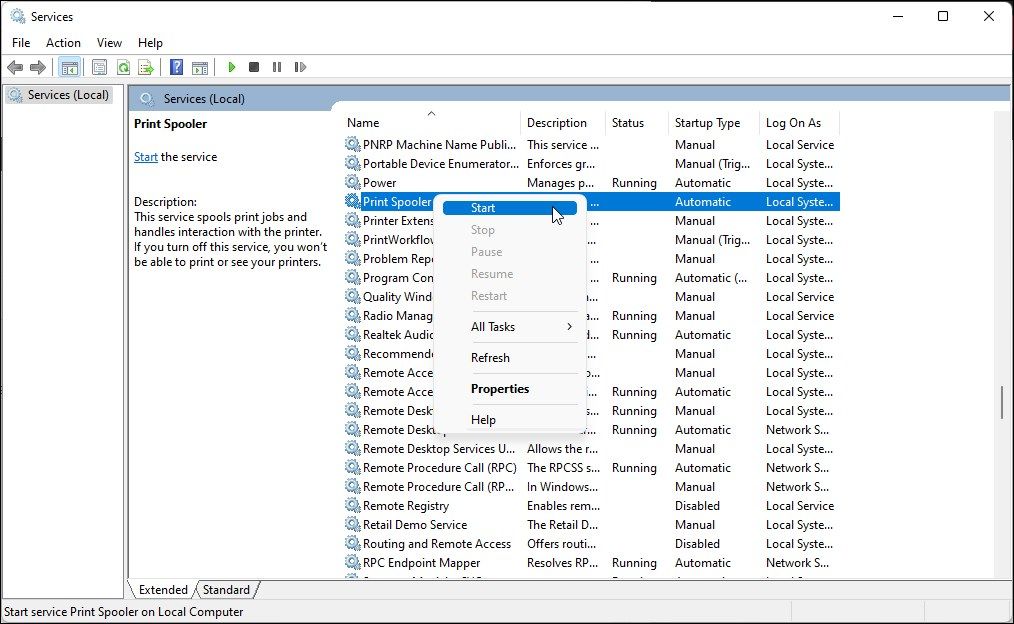
- In the Services window, locate the Print Spooler service.
- Right-click on Print Spooler and select Stop.
- Minimize the Services window.
- Now open the Windows Settings panel, go to Bluetooth & devices > Scanners and Printer, and try to remove your printer device.
- Once the printer is removed, go back to the Services window.
- Right-click on Print Spooler and select Start.

Restarting the Printer Spooler service is necessary. If disabled, you may encounter the printer spooler service is not running error on your PC.
2. Remove the Printer Software to Delete the Printer
If the deleted printer option still appears, you can remove the printer driver associated with the device to uninstall it completely. You can remove the driver using the Apps & feature tab in Windows 10 and 11.
To remove the printer drivers:
- Press Win + I to open Settings.
- Click on the Apps tab in the left pane. The app list may take a few seconds to populate, so wait till all the apps are listed.
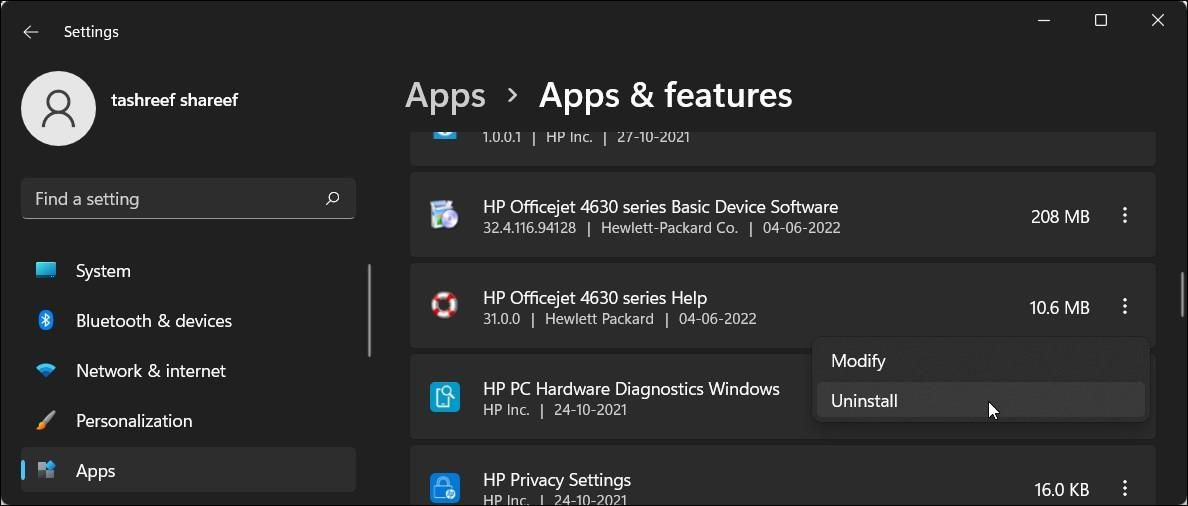
- Under the App list, you can scroll through or search for the printer driver.
- When you find the printer driver, click the three-dots menu.
- Select Uninstall and then click on Uninstall again to confirm the action.
- Wait for the driver to uninstall, then look for any other drive or software associated with the printer and remove them too.
- Once uninstalled, restart your PC.
3. Remove the Printer Using the Control Panel
You can use the classic Control Panel to manage your printers. Removing the printer from the Control Panel should work if the printer wasn’t removed correctly during the uninstallation process.
To remove the printer using the Control Panel:
- Press Win + R to open Run.
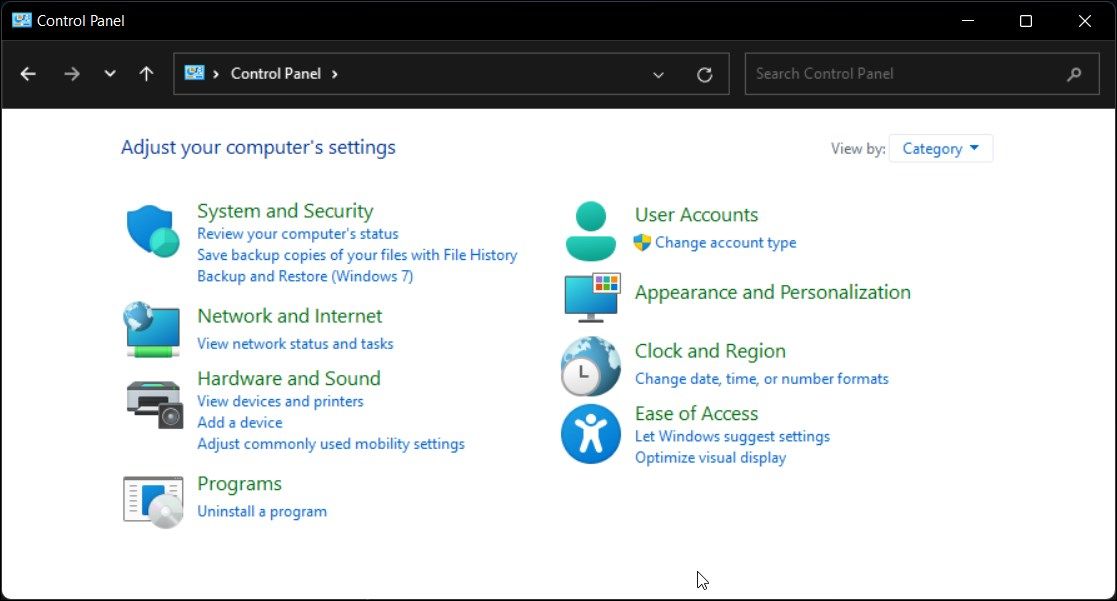
- Type control and click OK to open the Control Panel. You can also search for the app using the Windows search bar.
- In the Control Panel, go to Hardware and Sound.
- Next, click on Devices and Printers.
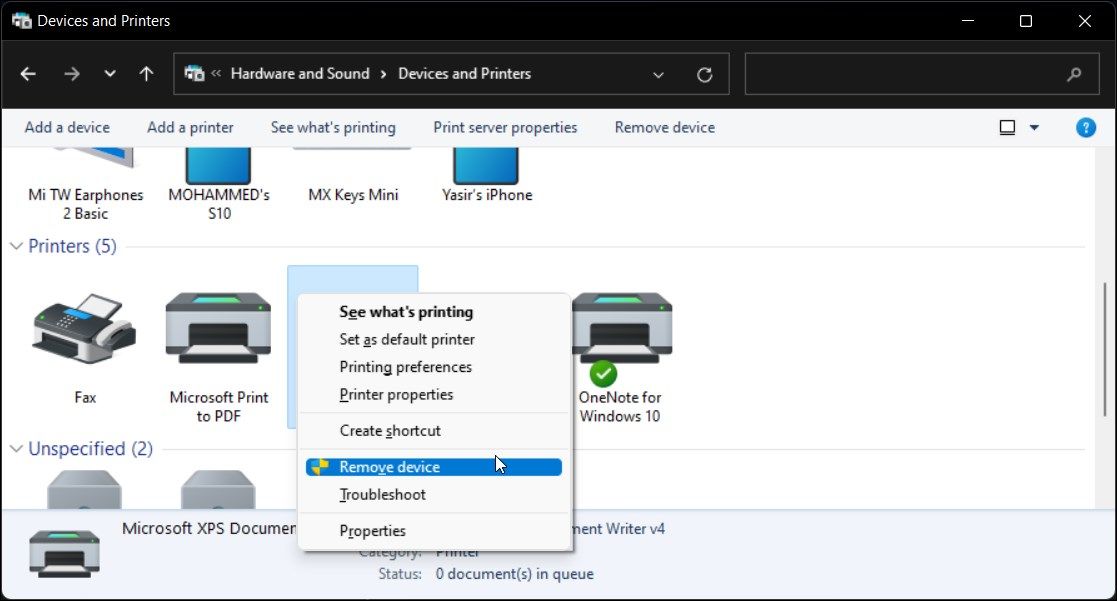
- Under the Printers section, locate and select the printer device you want to remove.
- Right-click on the printer and select Remove Device.
- Click Yes to confirm the action.
4. Remove the Printer Using Windows’ Print Server Properties
Sometimes, removing the printer device does not remove the drivers completely and can cause your printer to stop working . In such a situation, you can use the Print Server Properties dialog to remove the installed printer drivers.
To uninstall the printer drivers:
- Press Win + R to open Run.
- Type control and click OK.
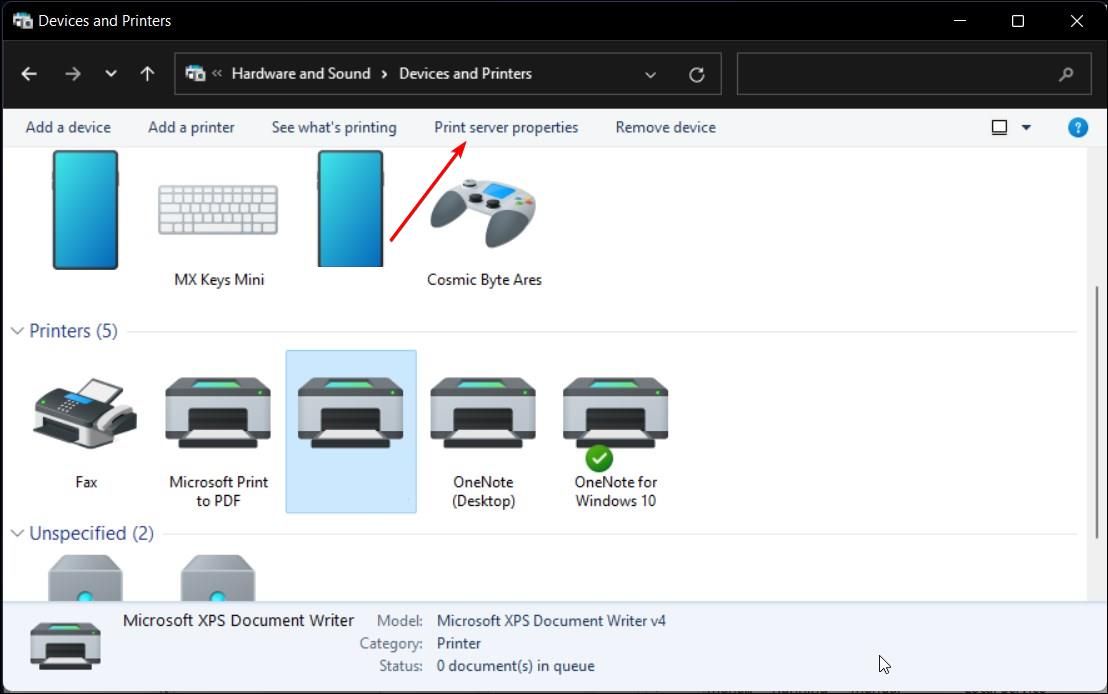
- In the Control Panel window, go to Hardware and Sound > Devices and Printers.
- Select any available printer and click on Print server properties.
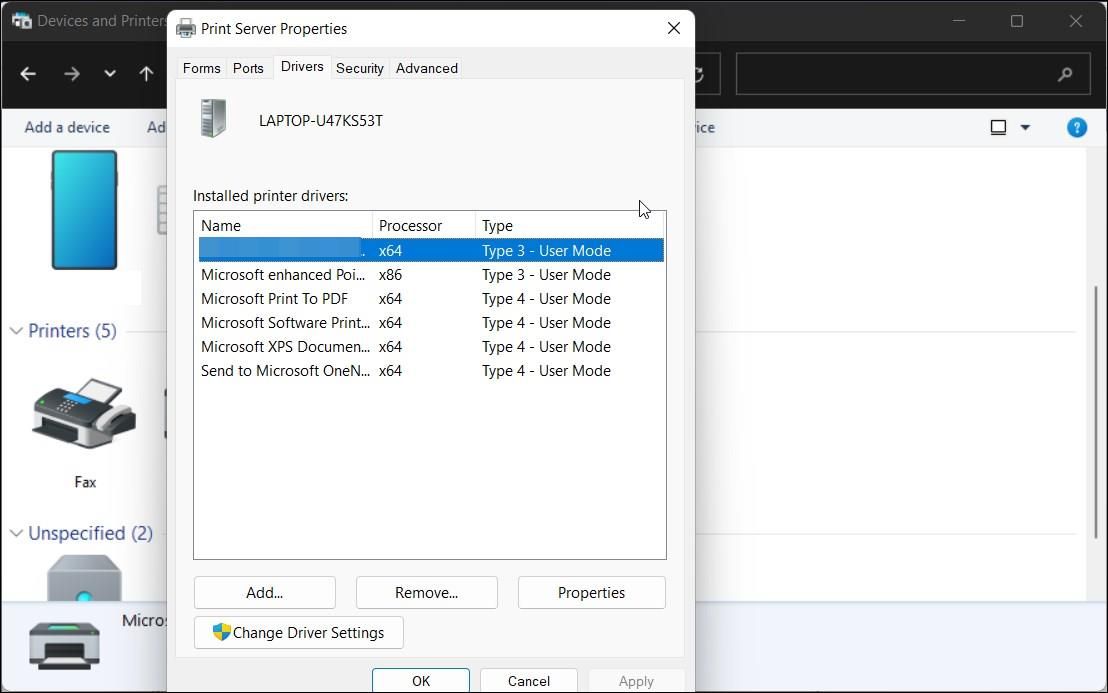
- Open the Drivers tab in the Print Server Properties dialog.
- Under Installed printer drivers, select the printer driver to uninstall and click Remove.
- Next, select the Remove driver and driver package option.
- Click OK to confirm the action and remove the driver.
- Restart your PC to complete the driver removal process.

5. Uninstall the Printer Using the Device Manager
Device Manager lets you manage all your peripheral and internal devices connected to your system. You can use the device manager to troubleshoot your Windows system , update the driver, add a new device, and remove connected devices.
To remove the printer using Device Manager:
- Press Win + X to open the WinX menu.
- Click on Device Manager from the context menu.
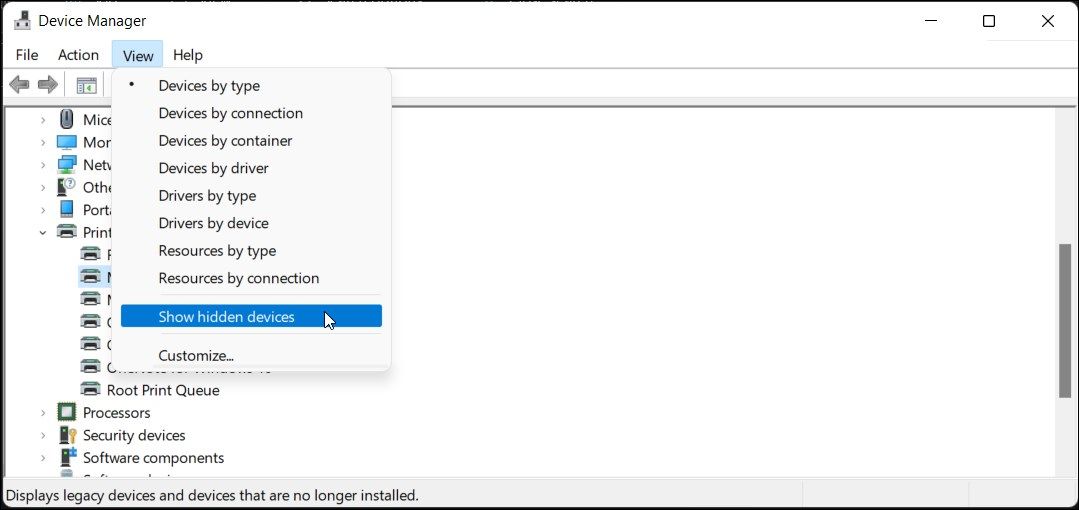
- In Device Manager, click on View and select Show hidden devices.
- Next, expand the Printers section to view your printer.
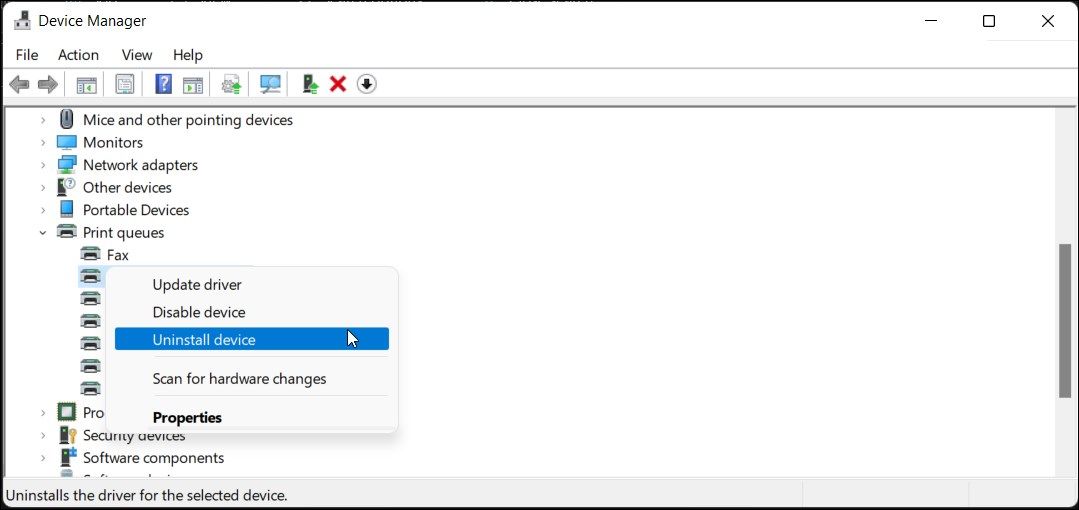
- Right-click on the printer and select Uninstall device.
- Select the Delete the driver software for this device option and click Uninstall.
- If the Printers section is unavailable, expand the Print queues section and repeat the steps to remove the printer.
- Close Device Manager and restart your computer to complete the uninstall process.
6. How to Uninstall a Printer Using the Command Prompt
If you prefer the Command Prompt over the traditional UI, you can delete the printer from your PC using the dl command.
To uninstall the printer use the Command Prompt:
- Press Win and type cmd in the Windows search bar.
- Right-click on the Command Prompt option and select Run as administrator.
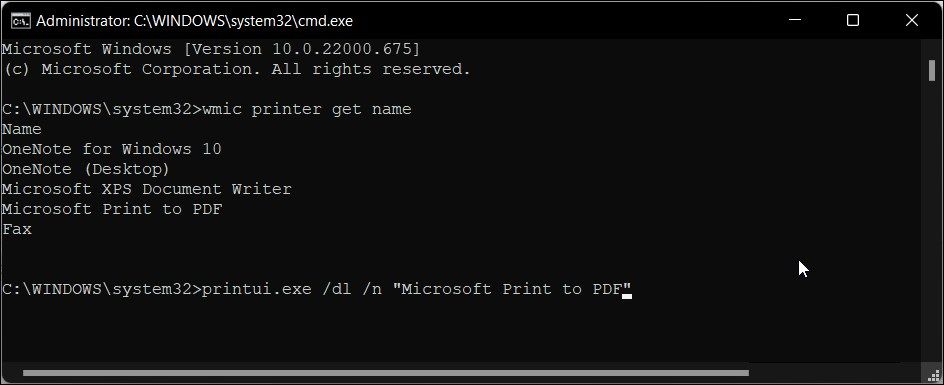
- In the Command Prompt window, type the following command to view all the installed printers on your PC:
wmic printer get name - To delete a printer, type the following command:
printui.exe /dl /n "Your_Printer_Name" - In the above command, replace Your_Printer_Name with the name of your printer.
- Hit Enter to execute the command.
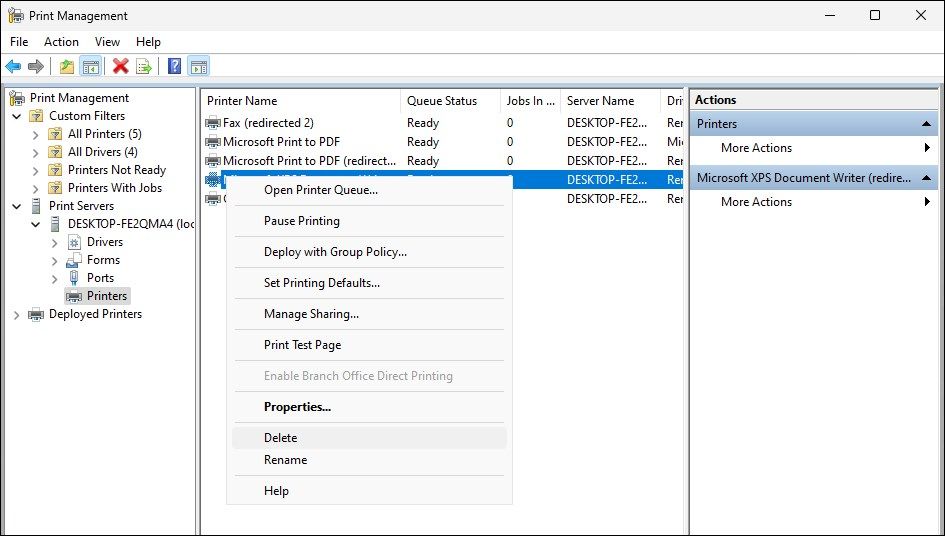
7. Remove the Printer Drive Using Print Management
Print Management is a Windows utility controlling printers, drivers, ports, and servers. You can use the tool to remove printer drivers from your Windows computer. The Print Management utility is not available in the Home edition of the Windows operating system.
To remove printer driver using Print Management:
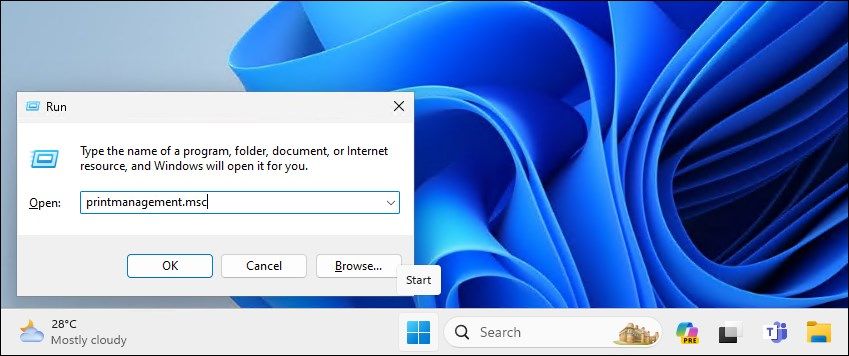
- Press Win + R to open Run.
- Type printmanagement.msc and click OK to open Print Management.
- In the left pane, expand the Print Servers section,
- Click on your Local Printer server name to expand it.
- Next, select Printers to view all the installed printers.
- In the right pane, select and right-click on the printer you want to remove.
- Select Delete and click Yes to confirm the action.
8. Delete a Printer Driver with PowerShell
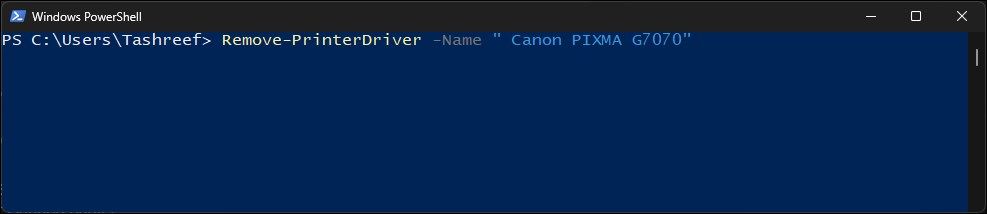
Alternatively, you can delete the printer driver package using PowerShell as an alternative to Print Management. This is also a quicker way to remove multiple printers in your Windows computer.
To remove a printer driver using PowerShell:
- Press the Win key and type powershell.
- Right-click on Windows PowerShell and select Run as administrator.
- In the PowerShell dialog, type the following command and press Enter to view the list of printers installed on your computer:
Get-PrinterDriver | Format-List Name - Once you have the list of printers installed, type the following command to remove the printer you want to delete:
Remove-PrinterDriver -Name "Printer-Name" - In the above command, replace Printer-Name with the printer name you want to remove.
The Many Ways to Remove a Printer in Windows 10 and 11
You can easily remove a printer in Windows using the Settings panel. However, if the deleted printer keeps reappearing, you can use the print server properties, Command Prompt, or delete the printer software to remove the printer altogether.
You can remove any connected printer from the Settings panel. If that does not work, you can use the Command Prompt and other ways to remove the printer. Here, we show you the many ways to delete a printer on Windows computers.
Also read:
- [New] 2024 Approved Seamless Creation at Your Fingertips Selecting Android's Top Editors
- [New] In 2024, Guide to Quick Eradication of Online YouTube Discussions
- [New] The Editor's Guide to Enhancing Longer YouTube Video Content with Chapters
- [Updated] 2024 Approved SaveTech Reviews Insights
- [Updated] Superior Selections High-Capacity Cloud Options
- Learn to Unbind Your OneDrive & Microsoft Profile on Windows
- Mastering App Migration to Your New Windows 11 Laptop
- Razer BlackWidow Drivers Refresh Tutorial – Easy Steps & Tech Assistance
- Regain Control Over Windows 11'S Dropped Items
- Secrets: Resolving Uncontrolled Mouse Jitter in Win11
- Simplify Tasks With Your Default Windows Terminal
- Solving ZeroDXGIErorDeviceLatencyError for Win11 Users
- The Ultimate Guide to Reactivating Explore in 11OS
- Ultimate Evaluation of the Google Pixel 3: Experience True Android Magic
- Unfreeze Your Fun: Comprehensive Solutions to Preventing Rocket League Lag
- Unique Galaxy Cat Desktop Wallpapers: High-Quality Backgrounds, Images & More by YL Software
- Unwrapping the Mystery: Microsoft Store Error Code 0X80073CF3
- Title: Immediate Guide: Forcibly Disable/Delete Printer on PC
- Author: Joseph
- Created at : 2025-02-23 03:23:40
- Updated at : 2025-03-01 18:23:15
- Link: https://windows11.techidaily.com/immediate-guide-forcibly-disabledelete-printer-on-pc/
- License: This work is licensed under CC BY-NC-SA 4.0.