How to Set Up Linux and Linux Apps on a Windows PC

How to Set Up Linux and Linux Apps on a Windows PC
If you are a typical tech enthusiast like us, you must have already used one or another form of Linux on your PC so far. And why not; it’s open source, offers tons of customization options, and, these days, it also lets you run almost any Windows app on it. But did you know the reverse is true as well?
With a few modifications, you can now install and use all your Linux apps on Windows with a breeze. If you’re looking to install and run Linux apps on Windows, then you’ve come to the right place. So, let’s dive into all the methods one by one.
1. Virtual Machines
Virtual machines have been around for a while—since 1999, to be precise, when VMware first introduced the concept of virtualization . They have evolved multiple times over the years, but the primary purpose is still the same: to help you run a specific operating system on top of a ‘host’ computer that works on a different OS.
Windows has a few options to choose from when it comes to picking a virtual machine. VirtualBox, VMware, and Bootcamp are some of the free options you can try out. And then there’s Parallels, Bluestacks, etc., on the proprietary side, too.
If this is your first time playing around with VMs, we suggest you use a free, open-source option like VirtualBox . After you have VirtualBox, you have to install the Linux ISO; from there, you can run your Linux (and your Linux apps) on VirtualBox.
Confusing? Don’t panic; we’ll do this in steps.
Step 1: Install VirtualBox
The first step is to install a VirtualBox on your Windows. Head to the official VirtualBox website , and download the official Windows app from the website. Launch the setup and finish the VirtualBox installation.
Step 2: Download and Install the Linux ISO
Now download the Linux ISO, which will be handy in installing the Linux operating system on top of VirtualBox. Head to the official Linux website and grab the ISO file from there. In this case, we’ll go with the Ubuntu distribution.
Step 3: Install Linux on VirtualBox
Now it’s time to install Linux on VirtualBox. Here’s how:
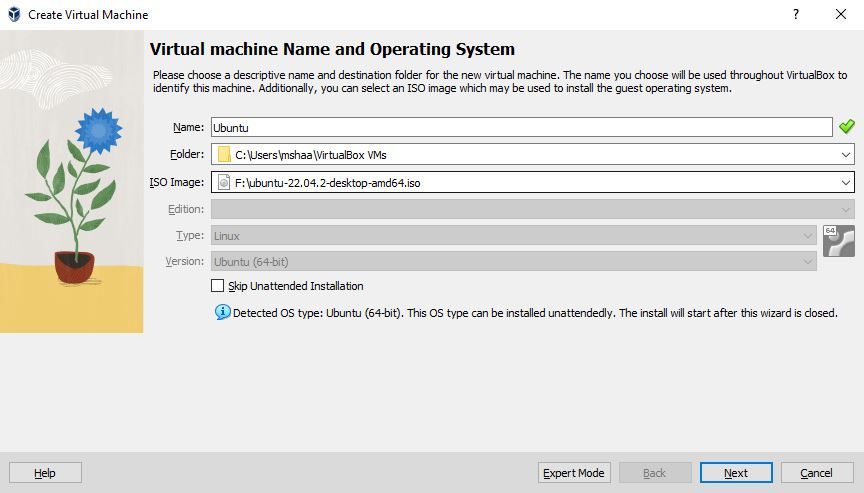
- Launch the VirtualBox, and select New.
- Select a relevant name for your OS, and pick the Ubuntu ISO image you just downloaded from above. Then click on Next.
- Set a username and password, and click on Next.
- Allocate a relevant name to the virtual operating system.
- In the next dialog box, select Create a virtual hard disk now, and choose Next. Finally, click on Finish.
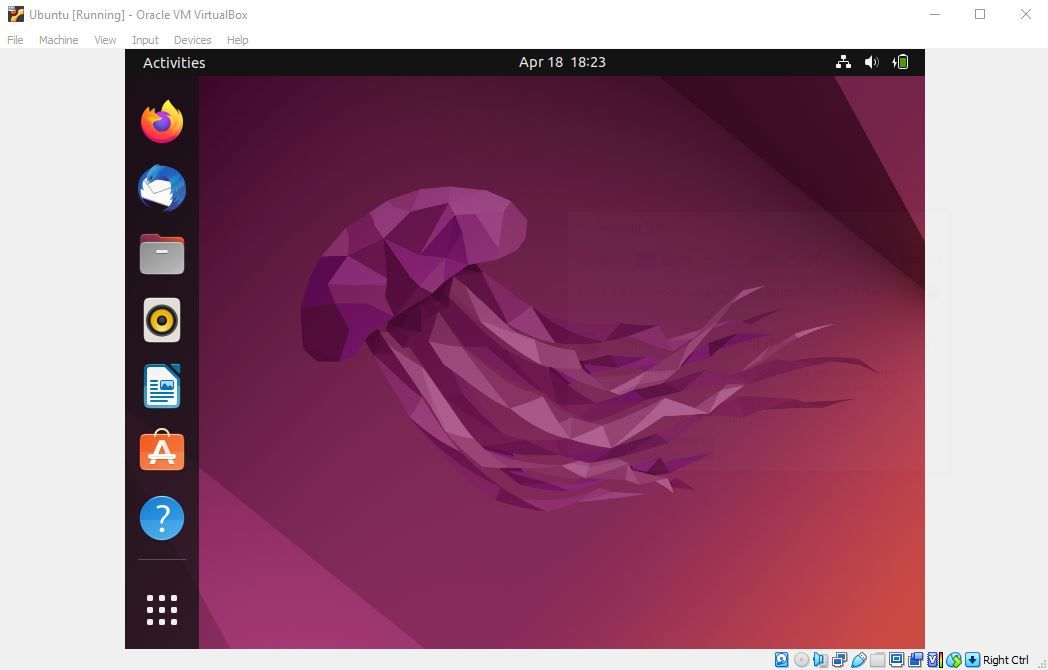
From here, VirtualBox will then power up the Ubuntu VM on its own, and in a few seconds you will see the Ubuntu interface as well. In a couple of minutes, it will also finish the Ubuntu installation on its own.
Power Tools add-on for Google Sheets, 12-month subscription
Note: If the VirtualBox doesn’t pick up the Linux ISO automatically, you must try the manual method; click on the folder, choose the file manually, and click Start. Finally, the Linux setup will be launched. From here, choose the language and click on Install Ubuntu to get started with the first part of the installation.
Again, follow the on-screen instructions from here; it’s pretty straightforward. When asked, set up an account, and click Continue to finish the installation. Ubuntu will be installed on your VirtualBox in a few seconds from here.
Now that Ubuntu is installed, you can run all the Linux apps on your Windows straight through the VirtualBox.
2. Windows Subsystem for Linux 2 (WSL2)
Using a virtual machine to run Linux is fine, but it isn’t straightforward and takes a fair amount of tinkering to get running. This is where Windows Subsystem for Linux, or WSL, can help you. WSL is a Windows feature that will help you run the Linux environment on your Windows without the help of a virtual machine like VirtualBox.
We have a detailed guide that covers how you can download and set up WSL2 on your PC. Follow the steps from the guide, and you will be using the WSL (and, along with it, Linux apps) in no time.
3. Cygwin
Cygwin is an open-source tool that offers a UNIX/Linux-like shell to run your Linux tools on the Windows environment. To get started, you first have to download the Cygwin app. Follow the steps below to get started:
- Download the Cygwin installer from the official website .
- When launching the Cygwin app, choose the Install from Internet option and select Next.
- Set the installation location and click on Next.
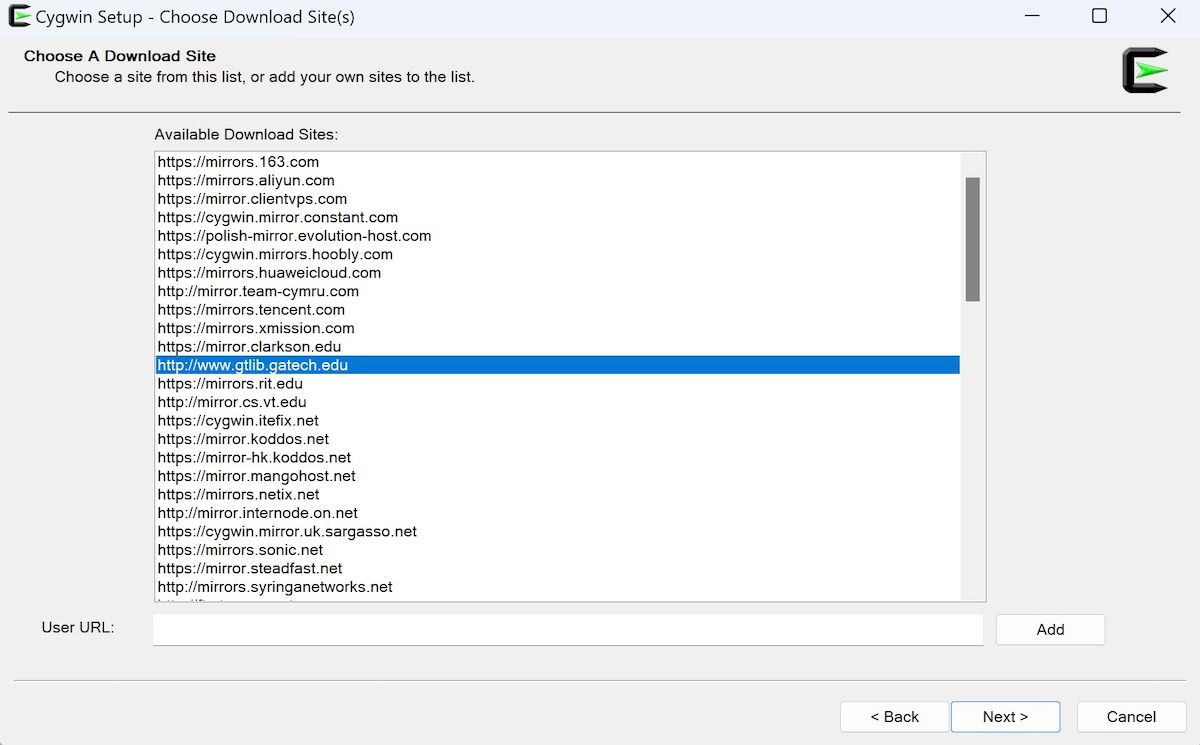
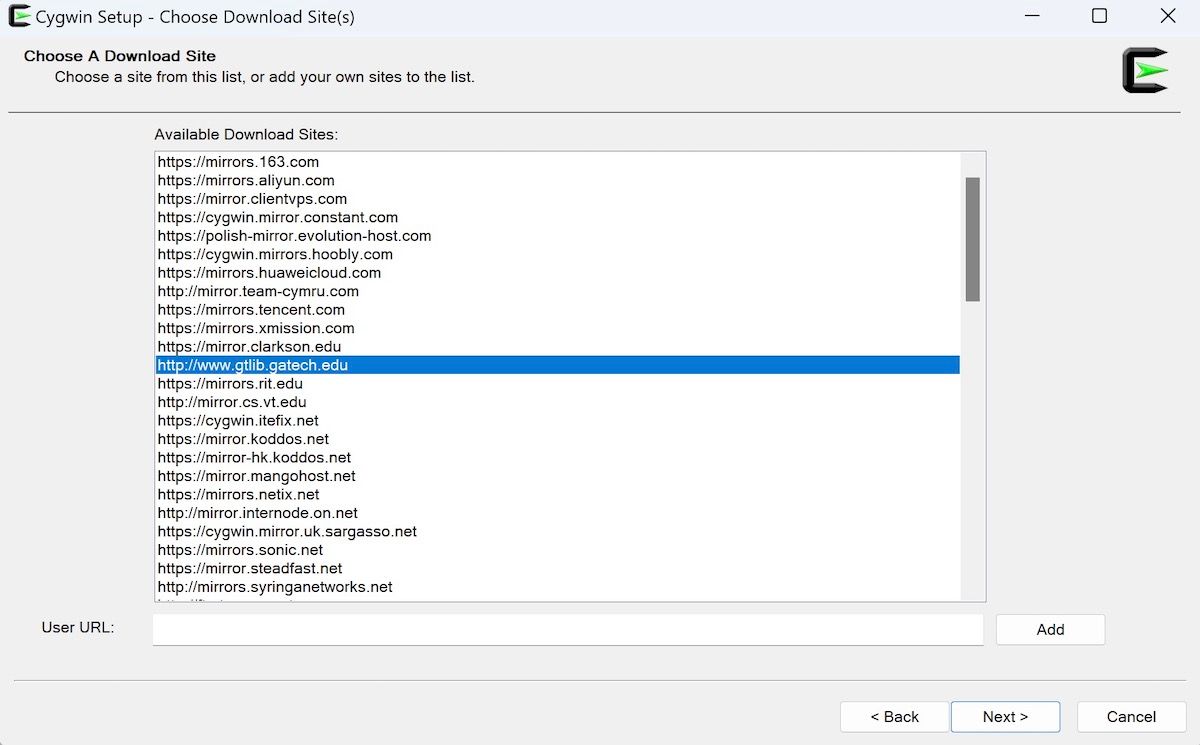
- Follow the on-screen instructions from here, and when you arrive at the download mirror selection, pick any mirror, and click on Next.
- The mirror will download several packages now. Choose the default option and click on Next to proceed ahead.
After you’re done with the installation, you can then launch the Cygwin terminal from your desktop. By default, the terminal is set to C:\Cygwin\home\
Before we move ahead to make Cygwin work on Windows, though, you have to add it to your Windows Environment Variable so that you will be able to launch Cygwin straight from your Windows command prompt. You should start by opening the system properties. Then press the Win+Pause/Break or right-click on the computer and select properties.
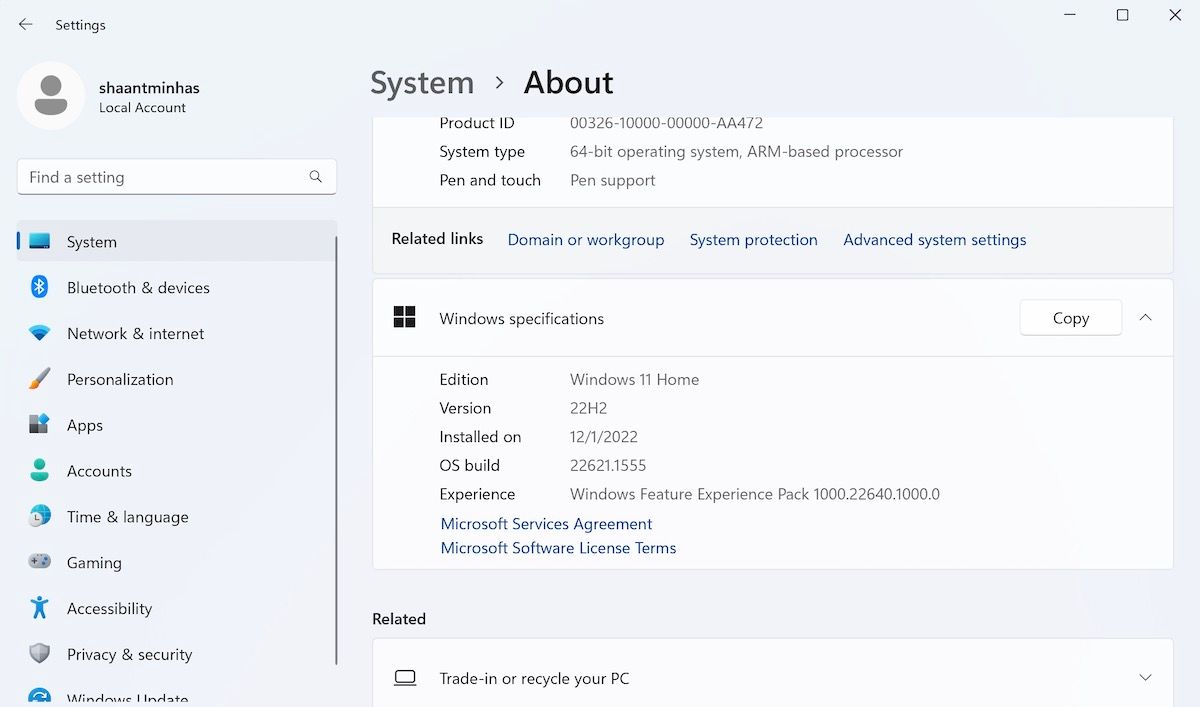
From there, click on Advanced system settings to open the system properties window. Now, click on the Environment Variables button from the bottom. Locate the path and click on Edit.
At the end of the variable value, add Cygwin to your bin location. Here’s how:
;C:\Cygwin\bin
Copy the above address and paste it into the end of the Path variable, and click on OK after you’re done.
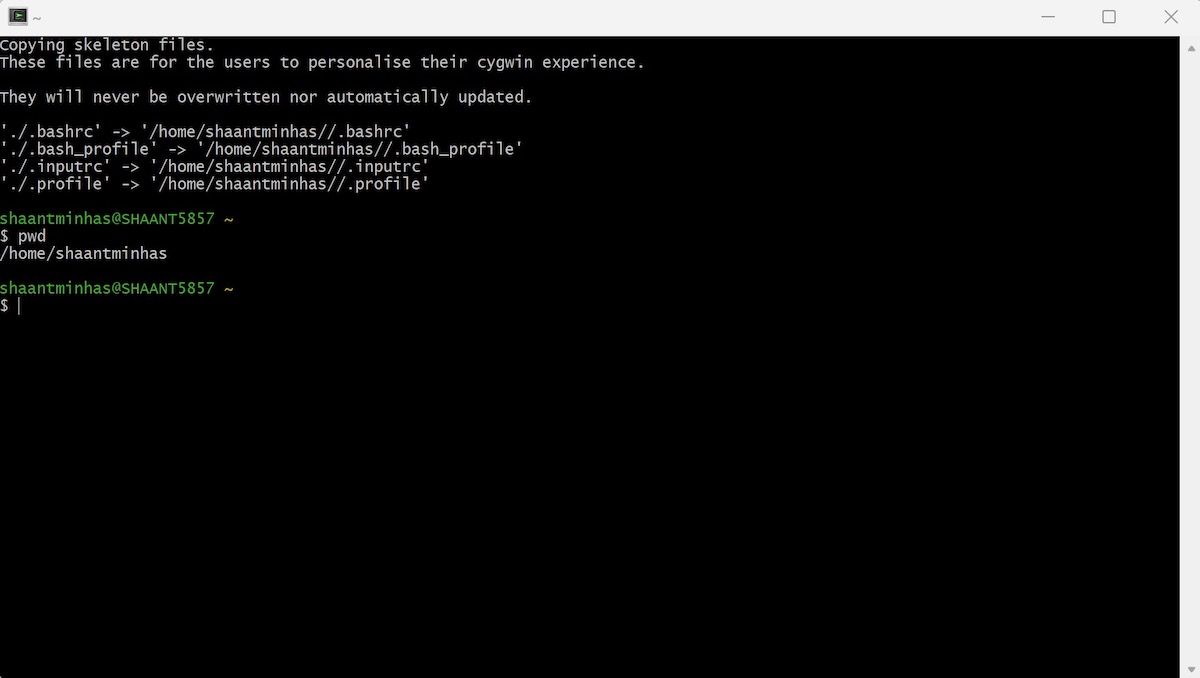
That’s it. You can now run Linux apps straight from the Cygwin app. Launch Cygwin and start typing the Ubuntu commands from here on. For instance, we have below used the pwd command, which basically prints the path of the working directory, from the root.
From here, you can do pretty much anything; only creativity is the limit. Here’s a list of top Linux tools or commands to help you get started.
Running Linux Apps on Your Windows Computer
You don’t have to switch to Linux every time you want to use a handy tool from its large repository. With the methods we’ve laid down above, you can pretty much run any Linux tool straight from your Windows computer.
While running Linux apps on your Windows will undoubtedly involve going through a slew of complicated steps, using them becomes second nature after a while. In fact, this also holds for the reverse case; by that, we mean when you’re looking to run Windows apps on your Linux.
- Title: How to Set Up Linux and Linux Apps on a Windows PC
- Author: Joseph
- Created at : 2024-08-15 16:07:17
- Updated at : 2024-08-16 16:07:17
- Link: https://windows11.techidaily.com/how-to-set-up-linux-and-linux-apps-on-a-windows-pc/
- License: This work is licensed under CC BY-NC-SA 4.0.

