
Discover Where Windows Keeps Snaps

Discover Where Windows Keeps Snaps
Quick Links
- Where Do Screenshots Go on Windows 10 and 11?
- Where Do Windows Screenshots Go When Using Third-Party Tools?
- Can You Change Where Screenshots Are Saved on Windows?
- What to Do if You Can’t Find Your Screenshots
Key Takeaways
- Screenshots taken using the Prt Sc key are saved to the clipboard and must be manually saved to your drive using an image editor.
- Screenshots taken using the Win + Prt Sc shortcut and Snipping Tool are saved in the Pictures > Screenshots folder.
- Third-party tools might save screenshots to different default locations. You should check the Pictures and Documents folders, as well as the installation location of the program.
You’ve taken a screenshot, and now you’re wondering, “where do my screenshots go on Windows?” It can be hard to know where to find screenshots since it depends on the method used to take them, but there are a few common places to check.
Where Do Screenshots Go on Windows 10 and 11?
There are several built-in tools for taking screenshots on Windows , including the Print Screen key (typically abbreviated Prt Sc on your keyboard) and Snipping Tool. Depending on which one you use, you might have to save it yourself after taking it, or navigate to a specific folder to grab it.
Prt Sc Key
Where do print screens go? The answer is simple: to the clipboard. If you want to access the screenshot, you have to save the it manually in an image editor like Paint. You can even paste the screenshots into programs that allow you to insert images, such as Microsoft Word or Google Docs.
Windows Key + Prt Sc
When you use the Win + Prt Sc shortcut, the screenshot goes to the clipboard. Windows also saves it on your computer; you can access it by heading to Pictures > Screenshots in File Explorer.
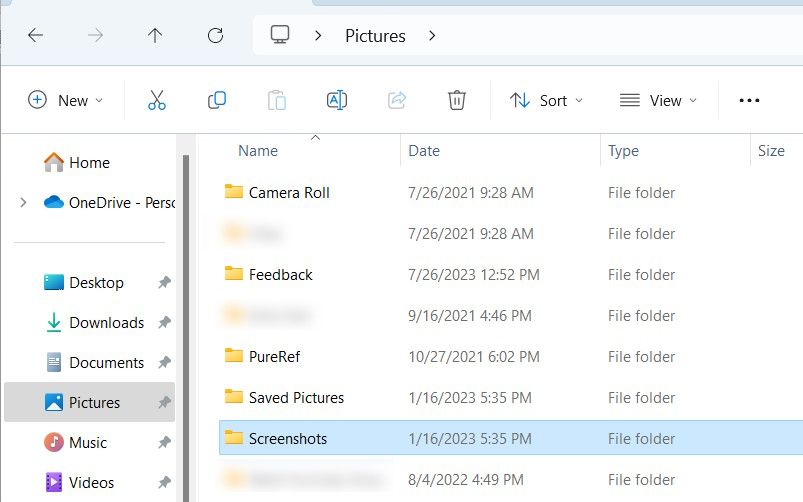
The screenshot will be saved in PNG format with a generic name like “Screenshot (2).”
Snipping Tool (Windows Key + Shift + S)
If you’re using the Snipping Tool instead of Prt Sc , you will find the screenshot in the Pictures > Screenshots folder. You’ll also be able to find it on the clipboard.
When you take the screenshot using the Snipping tool, a pop-up will appear in the bottom-right corner. When you click it, it will open a preview and edit window, and you can choose where to save the screenshot. To do so, click the save icon in the top-right corner or press Ctrl + S, then select a different location.
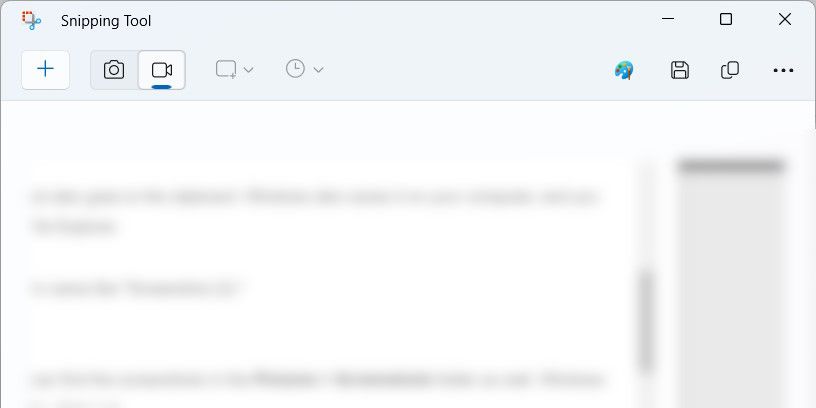
Make sure you select a location you can easily remember so you don’t forget where you placed it.
Xbox Game Bar (Windows Key + G)
You can find where the Xbox Game Bar saves your screenshots by heading to This PC > Local Disk (C:) > Users > [your username] > Videos > Captures.
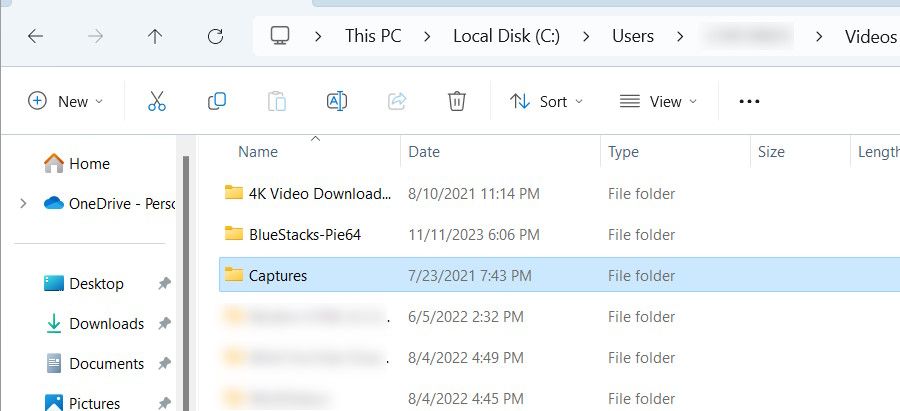
In the file path, replace [your username] with the name of the user account you’ve logged into. That means if the account username is Jack, then the file path will be This PC > Local Disk (C:) > Users > Jack > Videos > Captures.
You can also find out where the screenshots go from the Game Bar. Press Win + G to open the app, then click Capture—the camera icon—in the widget. In the Capture widget, click See My Captures.
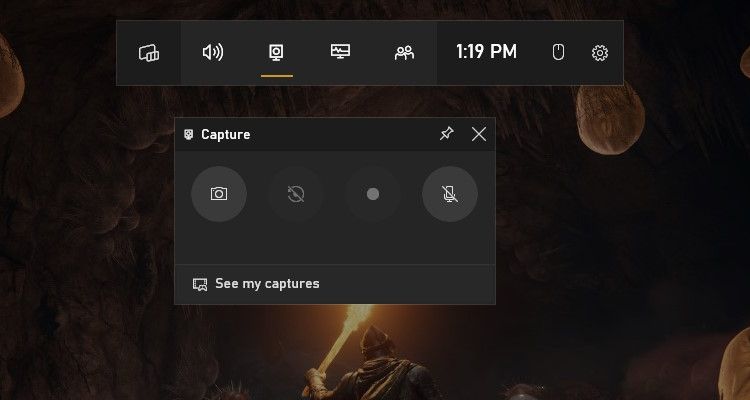
In the Game Bar’s gallery, click on the folder icon in the top-right corner of the left panel.
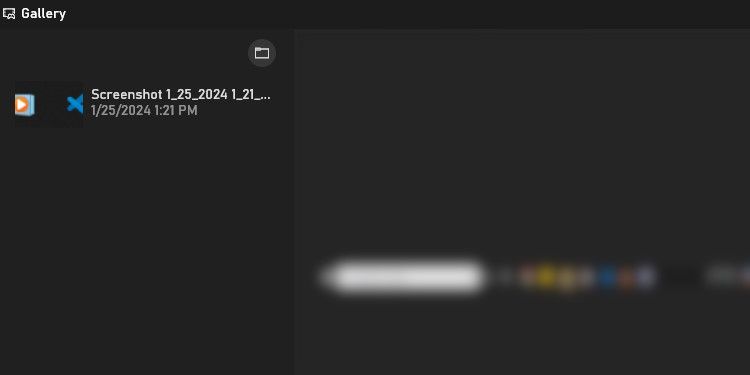
In the pop-up, click Continue, and it will open the folder with the screenshots.
Where Do Windows Screenshots Go When Using Third-Party Tools?
When using third-party screenshot tools like Snagit, Lightshot, or ShareX, the app will usually decide where to save the screenshots. When you take a screenshot, a preview might pop up in the bottom-right corner of your screen. Click this may take you to the folder where you’ll find the screenshot (or in some cases, clicking will open it for editing).
Apps like Snagit open a preview window instead, allowing you to choose where to save the screenshot. You can also try checking the app’s menus and settings to see if you can find the location of screenshots there. For example, you can find out where Steam saves screenshots by opening the app and clicking File > Screenshots.

If you can’t figure out where the app saved the screenshots, open File Explorer and check the Pictures and Documents folders. For instance, Lightshot saves the screenshots in Documents > Lightshot.
Can You Change Where Screenshots Are Saved on Windows?
Yes, you can easily change the location where Windows saves screenshots for the built-in tools. For third-party tools, you can look in their settings to see if they allow you to change the default save location.
What to Do if You Can’t Find Your Screenshots
If you’ve just taken a screenshot and don’t know where it is, you should check the clipboard. You can do this by pressing Ctrl + V with your cursor focused in a window that will accept pasted images. If your screenshot appears, paste it into a compatible program and manually save it.
Also, you can open File Explorer and check the Recent section for the screenshot.
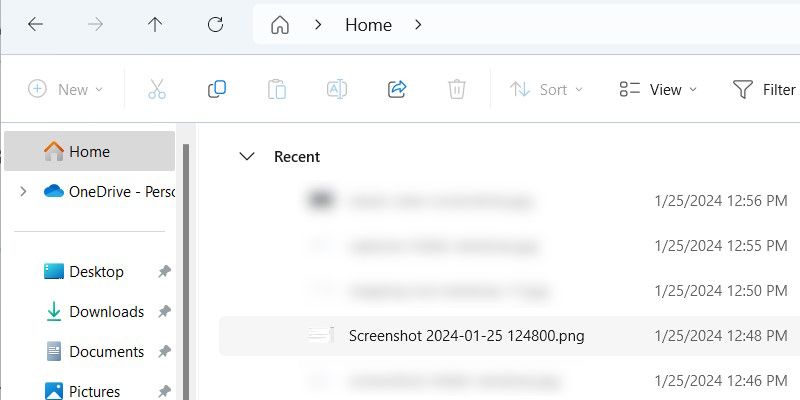
Another thing you can do, on top of looking in the Pictures and Documents folders, is check the installation location of the program you use for screenshots. Look for folders with names like Screenshots or Captures. Using Windows Search for these common terms could help you locate them.
Once you find the folder where the screenshots are, you may wish to note the file path in the Sticky Notes app. Alternatively, you can right-click the folder and select Pin to Quick Access. This will make it easier to remember where your Windows screenshots go.
Also read:
- [New] 2024 Approved Exploring iMovie's Default Crop Settings
- [New] Quick Access to FB Vids as MP4 Files
- [Updated] In 2024, Complete Screen Recorder - In-Depth AZ Reviewing
- [Updated] Smirk Stash Ultimate Guide to FREE Meme Templates
- [Updated] Tag Your Way to the Top YouTube's Viral Power Players
- 2024 Approved Mastering Multitask Media Consumption Harnessing PIP Feature in Netflix
- Full Tutorial to Bypass Your Xiaomi Redmi K70E Face Lock?
- How Everyday Life Benefits From AI's Progression
- How to Open the Control Panel as an Administrator in Windows
- In 2024, Ending Invisible Gaming Captures in Software
- Increase Speed of Task Manager View on Windows 11
- Instructions to Create Safe Dialogue for Hardware Disconnect
- Mastering Smooth Video Transitions: Taming VLC Lags
- Navigating the Pitfalls: A Windows 11 Overview
- Preventing Constant Display of Edge Buttons
- Transitioning to Kali: Your Windows Pathway
- Winning Over Wi-Fi Errors: Addressing Missing Actions in Prompts
- Title: Discover Where Windows Keeps Snaps
- Author: Joseph
- Created at : 2025-01-14 18:33:40
- Updated at : 2025-01-16 14:26:28
- Link: https://windows11.techidaily.com/discover-where-windows-keeps-snaps/
- License: This work is licensed under CC BY-NC-SA 4.0.