
Configuring an Everlasting Bin for Deletion in the Windows Interface
Configuring an Everlasting Bin for Deletion in the Windows Interface
The Windows desktop includes a Recycle Bin repository for “deleted” files. However, dragging and dropping files onto that bin icon doesn’t truly erase them. Files dragged onto the Recycle Bin are stored until the bin gets emptied, and even after then, they’re still recoverable.
Would you prefer to have a bin on your Windows 10 or 11 desktop that truly deletes files dragged to it beyond recovery? If so, you can add exactly that to the desktop with Free File Wiper and Multi Trash. This is how you can add a desktop trash bin for permanent file erasure to Windows with those apps.
Standard Deletion vs. Permanent Erasure: What’s Wrong With the Default Recycle Bin?
The Recycle Bin is based on the standard file deletion method. It enables users to delete files either by emptying the bin or bypassing it by pressing theShift + Delete hotkey. Users can also select aDon’t move files to the Recycle Bin option for standard file deletion.
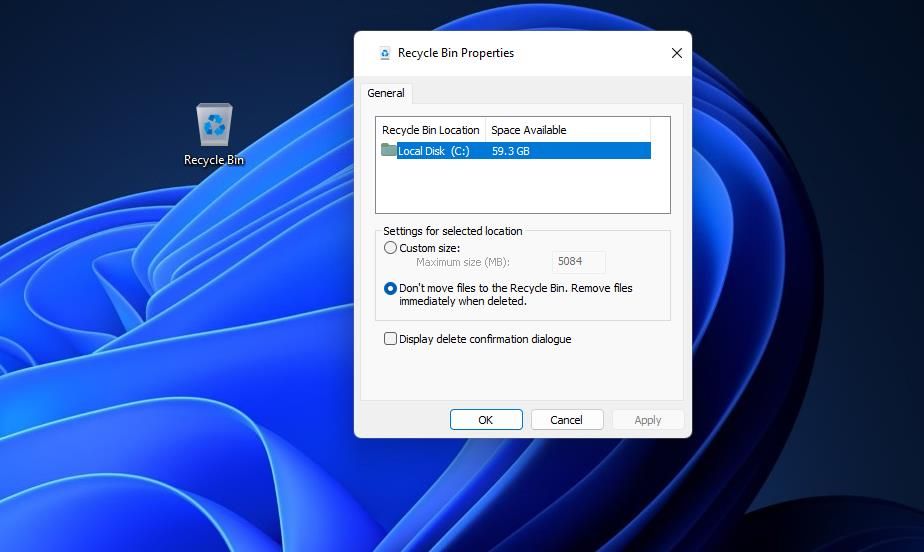
Yet, the Recycle Bin’s standard deletion method merely removes a hard drive reference pointer for a file. Doing so marks the drive space a deleted file occupies as available, but the data remains intact until it gets overwritten. This means that non-overwritten files removed with standard deletion can still be recovered with data recovery software. Our data recovery software guide tells you about some of the best tools you can use for restoring files .
However, file shredder apps combat data recovery software by thoroughly eradicating files. Those tools permanently erase files by overwriting their data on hard drives. They do that with various data erasure overwrite standards, such as Gutmann’s and Schneier’s algorithms.
So, you’ll need third-party file shredder software if you want to permanently erase files beyond potential recovery. Free File Wiper and Multi Trash are apps that add file shredder bins to the Windows 11/10 desktop. Those are bins you can drag and drop files to for permanent erasure.
Note that file shredders don’t work on SSD (solid-state drives). Such drives store data on flash memory, which is different from disk storage. However, you can still wipe solid-state drives with the software and methods covered in our guide on if SSDs can really securely delete data .
How to Add a File Deletion Bin to the Desktop With Free File Wiper
Free File Wiper is, as its title implies, freely available software for Windows platforms. That’s also a portable app for which no installation is required. This software has four options for wiping (overwriting) data thoroughly. You can add a Free File Wiper bin to the Windows 10 and 11 desktop like this:
- Open the Free File Wiper download page .
- Click theDownload Now and theExternal Mirror 1 options.
- Activate File Explorer by pressing its folder library taskbar button.
- Bring up the directory in which thefree_file_wiper.zip file is downloaded.
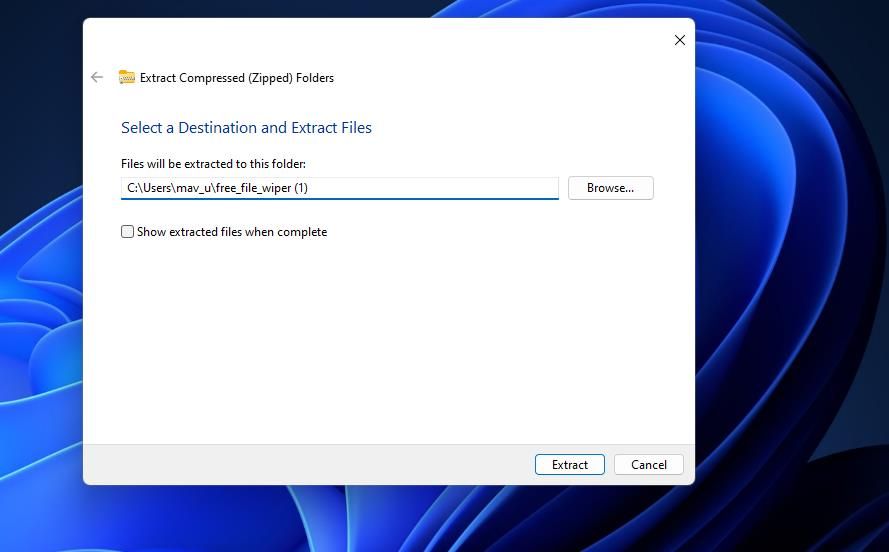
- Unzip thefree_file_wiper.zip archive as instructed in our guide for extracting ZIP files in Windows.

- Double-clickFree_File_Wiper.exe in its extracted directory to run the app.
- You’ll see a help window for the app when you first start it. Deselect theShow this help at startup checkbox if you don’t want the info to appear again.
- Click theX close button on the “Free File Wiper – Help” window.
- Now you’ll see a Free File Wiper bin icon somewhere on the Windows desktop. Left-click and drag that icon to reposition it if necessary.

To permanently delete something with the shredder app, bring up Explorer, left-click a file, and then drag it onto the Free File Wiper bin desktop icon. A warning prompt will appear that says you won’t be able to recover the file after wiping it. SelectYes if you’re sure about permanently erasing the file.
![]()
You can change the wipe method for that bin via its context menu. Right-click theFree File Wiper system tray icon and select theWipe method submenu. Then choose one of the five options available there.Maniacal erase is the most thorough shredding option with several passes.
Free File Wiper’s context menu also includes other options. There you can select alternative transparency levels for the bin icon. ClickAutostart with Windows to add Free File Wiper to the startup items.
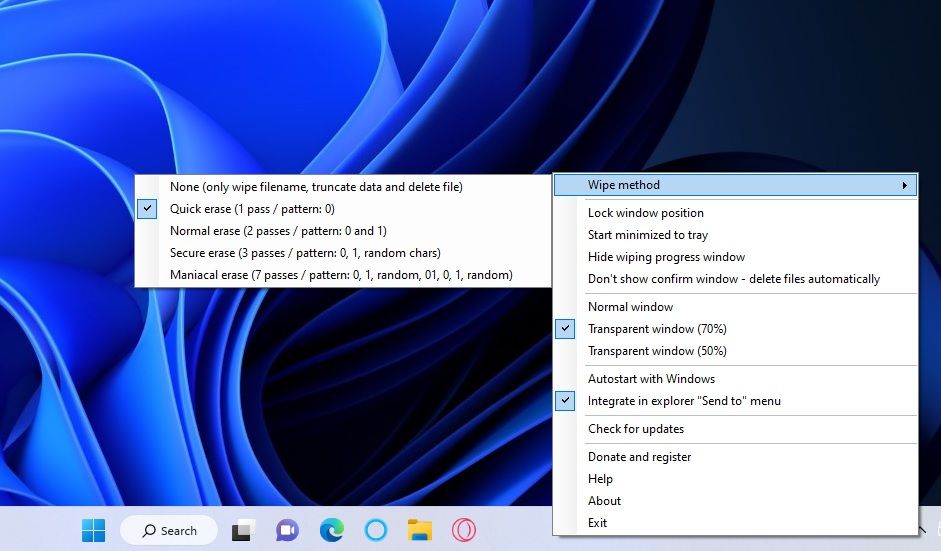
You’ll also notice that the menu includes anIntegrate in explorer “Send to” menu selected by default. That option adds Free File Wiper menu to theSend to submenu on the classic context menu when selected. It enables you to right-click a file and selectShow more options >Send to >Free File Wiper .
How to Add a File Deletion Bin to the Desktop With Multi Trash
Multi Trash is a gadget you can add to the desktop with the 8GadgetPack software. This desktop gadget is a 3-in-1 bin for recycling, deleting, and shredding files. When set to shred files, it will permanently erase them. This is how you can add Multi Trash to the Windows desktop.
- First, open the 8GadgetPack download page .
- ClickDownload on that 8GadgetPack page.
- Follow the instructions on the linked download page to install the 8GadgetPack software.
- Next, open this Multi Trash gadget download page .
- Click Multi Trash’sDownload Now >Secure Download (US) options.
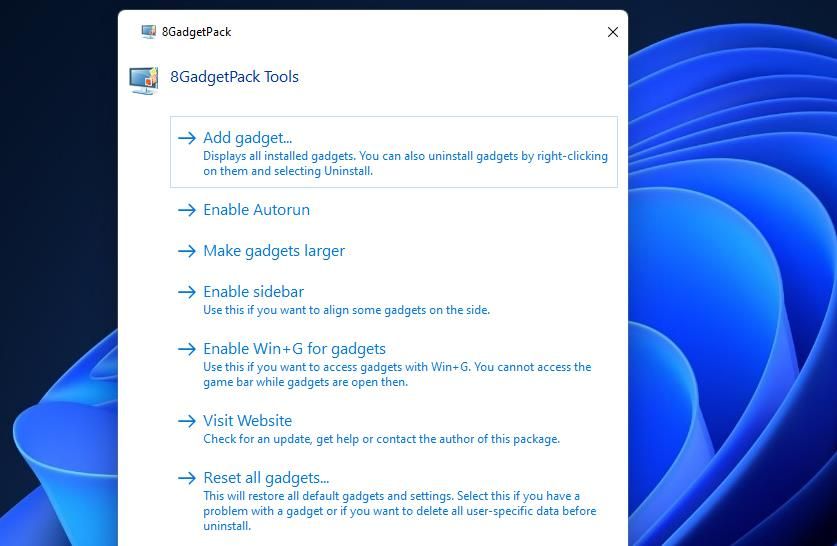
- Now open the 8GadgetPack software.
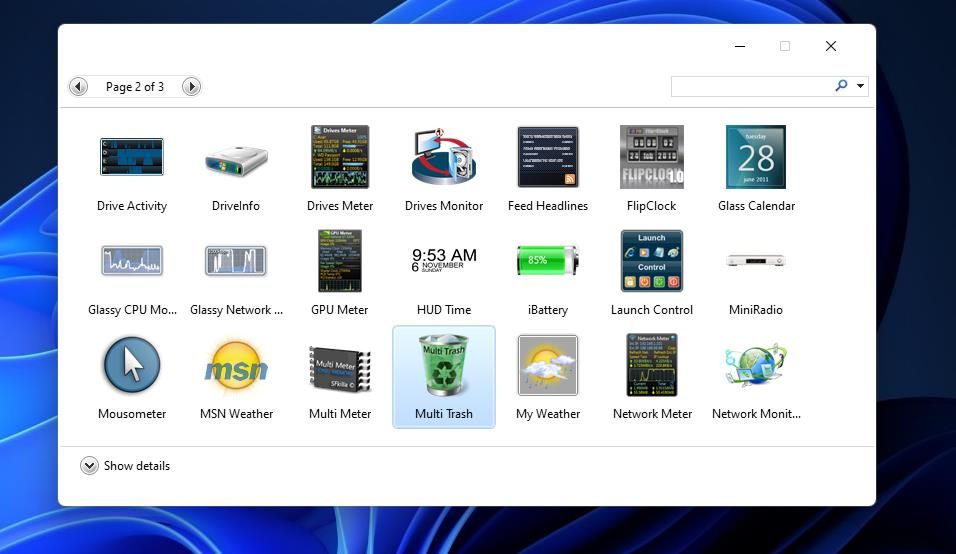
- Click theAdd gadget option to view the desktop widget selection window.
- Double-click the Multi Trash gadget, which will probably be on page two of that window, to add it to the desktop.
Multi Trash is set to its Recycle Bin by default. However, you can change its function by clicking the arrows on that gadget. Click that gadget’sleft arrow to turn it into a Shred bin.

The Shred bin will permanently erase files dragged onto it. So, go ahead and drag some files from Explorer’s window onto the Shred bin. A confirmation prompt will open that asks if you’re sure about permanently deleting the file. ClickYes to confirm as such.

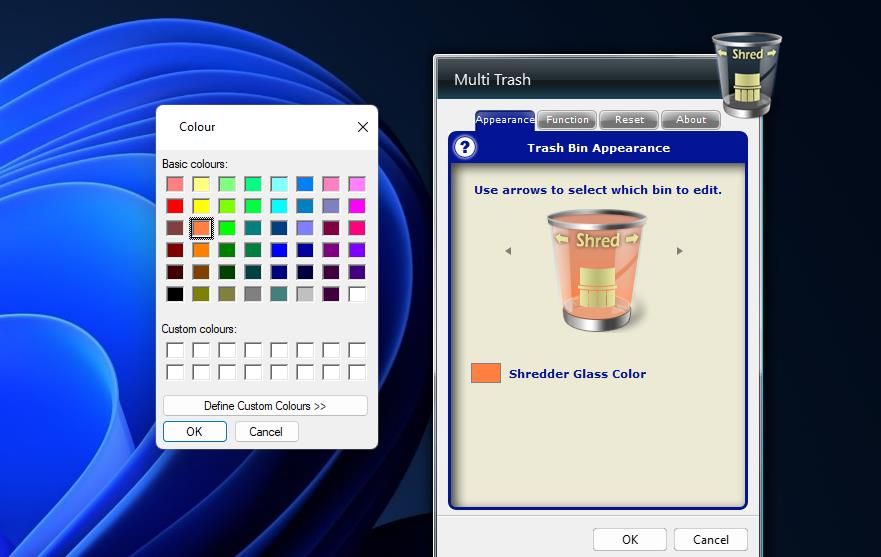
This gadget has a few customization settings. Click itsOptions button to view them on the Multi Trash window. You can change the bin’s color by clicking theShredder Glass Color option on theAppearance tab and selecting an alternative one on the palette. To change the bin’s size, select theLarge orSmall options on theSize of bin drop-down menus within theFunction tab. ClickOK to apply new gadget settings.
Of course, the biggest beauty of Multi Trash is that it’s a 3-in-1 file deletion tool. You can also set it to be a recycle or standard deletion bin for different files. However, only the Shred bin securely erases files beyond recovery. So, use the Shred bin to erase files that include more confidential info.
Delete Your Files More Securely on the Windows 10 and 11 Desktop
Adding Free File Wiper or Multi Trash bins to Windows will enable you to delete files and folders more securely from the desktop area. Although there are many other file shredder utilities available, few of them have comparable drag-and-drop functionality. So, Multi Trash and Free File Wiper are more unique tools for shredding files in that respect.
However, remember it’s not always bad for files to be recoverable, in case you accidentally delete a file you want to keep. Or you might realize you should never have deleted a file later. So, it’s recommended to only permanently erase files you want to ensure other users can’t recover with data recovery software.
Also read:
- [Updated] 2024 Approved Innovative Broadcast Strategies Live on Instagram Using OBS Software
- Expanding External Devices in Explorer's Side
- Fixing Non-Working Window's Performance Indicator
- How to Enable or Disable In-Hand Typing Windows 10
- How to Migrate Android Data From Realme GT 5 to New Android Phone? | Dr.fone
- Identify and Secure Open TCP/IP in Windows
- In 2024, Latest way to get Shiny Meltan Box in Pokémon Go Mystery Box On Itel A60 | Dr.fone
- In 2024, Next-Gen Sound and Vision Leading Devices of '24
- Joining Live Shows A TikTok Perspective for 2024
- Overcoming Windows Projection Failure Issue
- Process of Screen Sharing Vivo X100 Pro to PC- Detailed Steps | Dr.fone
- Pros and Tips Building Realistic 3D Text in PHOTOS for 2024
- Step-by-Step Guide: Converting FLAC Files to M4A Format Using Windows Tools & Web Services
- Strategies for Swiftly Eradicating Windows Steam's E84 Error
- Top 8 Personalization Hacks for Windows 10/11 via BubbleUI
- Understanding Why Your Windows Files May Have an X
- Unlocking Customized Windows Power Schemes
- Title: Configuring an Everlasting Bin for Deletion in the Windows Interface
- Author: Joseph
- Created at : 2025-03-01 07:28:21
- Updated at : 2025-03-02 11:25:29
- Link: https://windows11.techidaily.com/configuring-an-everlasting-bin-for-deletion-in-the-windows-interface/
- License: This work is licensed under CC BY-NC-SA 4.0.